Zelda: Breath of the Wild - Vah Naboris dungeon, all terminal solutions explained inside the giant camel dungeon
How to explore the Gerudo Desert dungeon, find all terminals and hidden chests.
Zelda: Breath of the Wild's Vah Naboris dungeon is required for you to complete one of four Divine Beasts scattered around Hyrule.
If you have yet to arrive at the dungeon, make sure you read how to get started with the quest:
- Zelda: Breath of the Wild - Gerudo Town, Forbidden City Entry by visiting Kara Kara Bazaar and getting heat resistance for Gerudo Desert
- Zelda: Breath of the Wild - Yiga Valley Hideout in Karusa Valley, how to beat Master Kohga
After that is the dungeon's boss fight Thunderblight Ganon - but if you've yet to get that far, read on for help with the five terminals.
If you're after help for parts of the game, consult our Zelda: Breath of the Wild walkthrough and guide.
How to start Vah Naboris dungeon
With the trip to Yiga Valley done and dusted, meet Riju at the outpost to the south west.
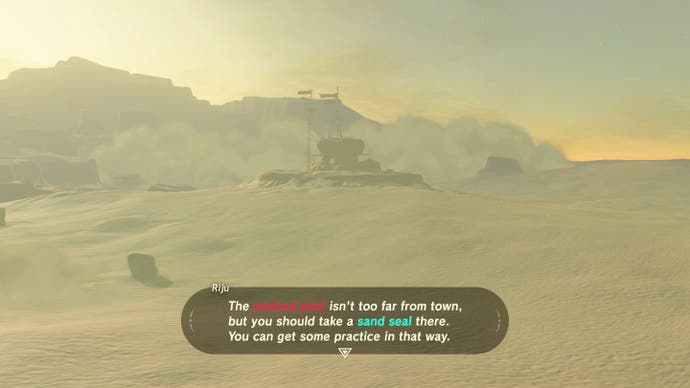
Head inside for a Golden Bow from the chest, then climb the ladder outside and speak to her again to get started. You'll be given some Bomb Arrows for the task ahead.
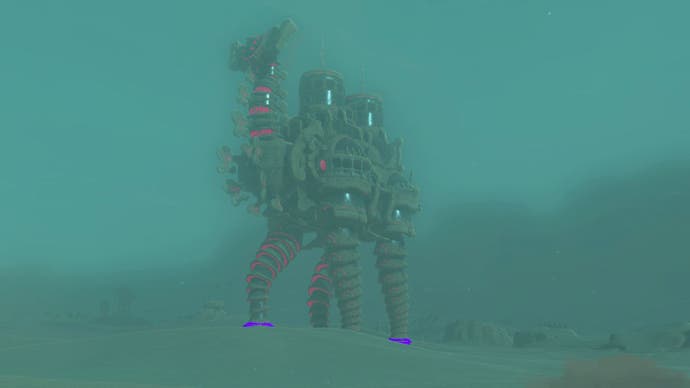
For the boarding process, you and Riju are riding sand seals towards the feet of the giant walking camel beast. You have to stay pretty close in order to stay underneath Riju's protective forcefield which guards you against powerful lightning strikes.
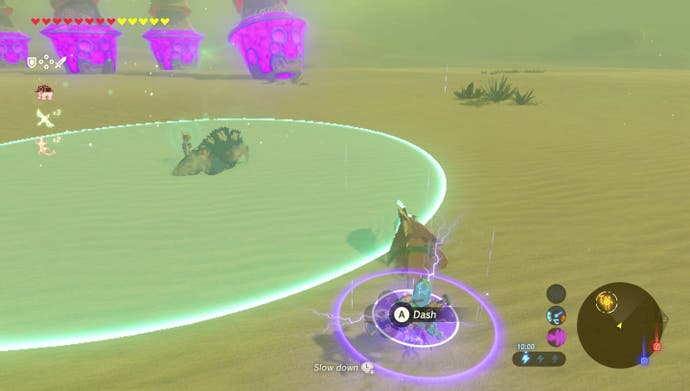
Thankfully, you'll get a warning when that happens, with a purple target appearing over you, so get under cover when you can. Unfortunately, Riju has the habit of swerving rather erratically left and right, and if this happens, pull back on the stick and wait until she straightens out before meeting up again.
It'll take a short while, but soon you'll get close enough to fling arrows at the glowing feet. When it starts walking, you should be following from behind, and so each foot should be directly ahead of you and easy to hit.
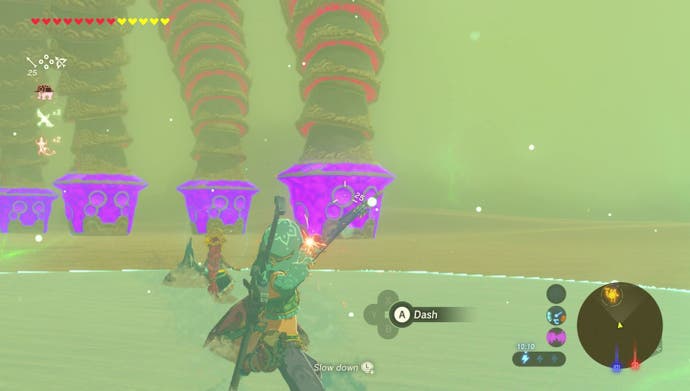
If you have a bow that flings multiple arrows - such as those from the Yiga clan - then this will take even less time. Once done, after the cutscene it's time for the Vah Naboris dungeon.
Vah Naboris dungeon and terminal locations
Finding the map in the Vah Rudiana dungeon
Run ahead and take out the Guardian Scout, then run to the far end and take the ramp going up and back on yourself. Shoot the Eye on the right to clear the Calamity gunk and enter a room where there's an energy crystal suspended ahead.
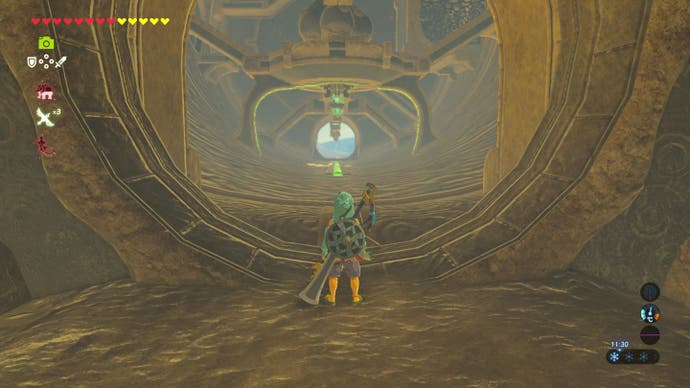
To find the Guidance Stone, go to the far right hand corner, and go up the ramp. At the top of that, on the right, is where the map room is.
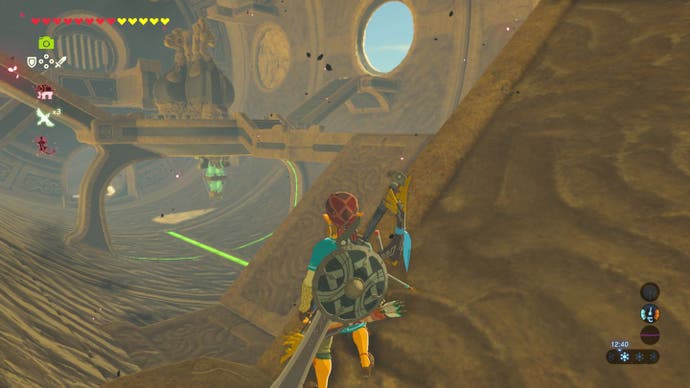
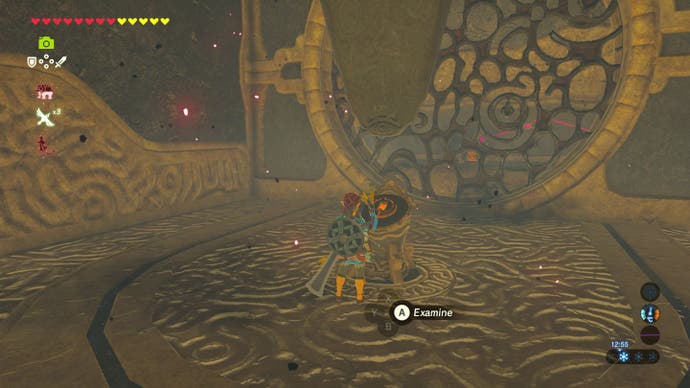
The controls for this Beast are perhaps the most complicated of all four you'll come across. You can rotate three sections inside the Beast into four different positions each, with the added factor of a circuit that can connect all three together.
Remember you can rotate multiple sections multiple times in one go, if you know exactly where you want things to be.
First Terminal in the Vah Rudiana dungeon
Let's start simple. There is a Terminal inside a room in the back section, but is currently inaccessible. Go forward to the main control unit, and look back towards the map room. Rotate the back section twice, so the circuit on this section is on the ceiling, like so:
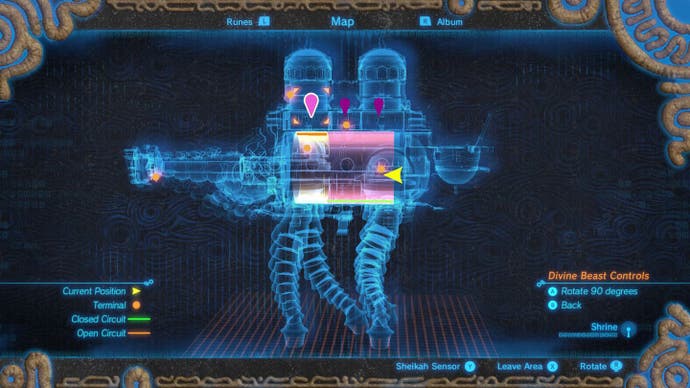
This means the room can be accessed from the window on the left.
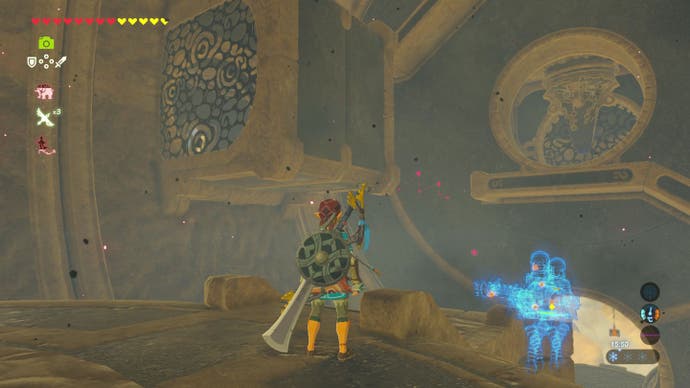
Head outside via the nearest walkway, turn right, and into the room.
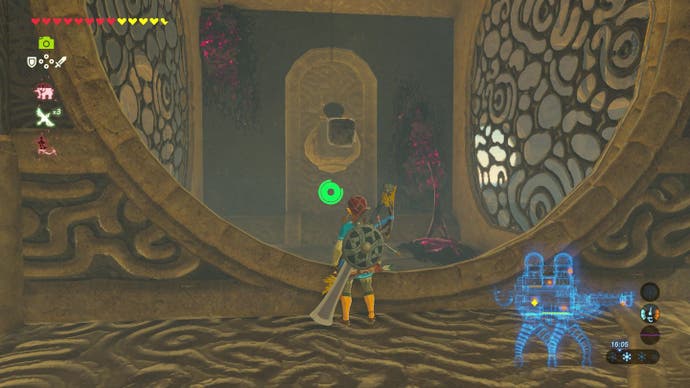
Rotate this back section once more to level it out, so you can use the Terminal. To exit, rotate it around until the room's window lines up with the window, and leave.
Second Terminal in the Vah Rudiana dungeon
Head back to the main room and continue to focus on this back segment. Move it so the room you were just in is at the bottom, and stand on the right side of it, like so:

Now rotate it once, so the room moves underneath you and you can stand on it. Facing the back of the Beast, there is a walkway you can use to get to an area high above.
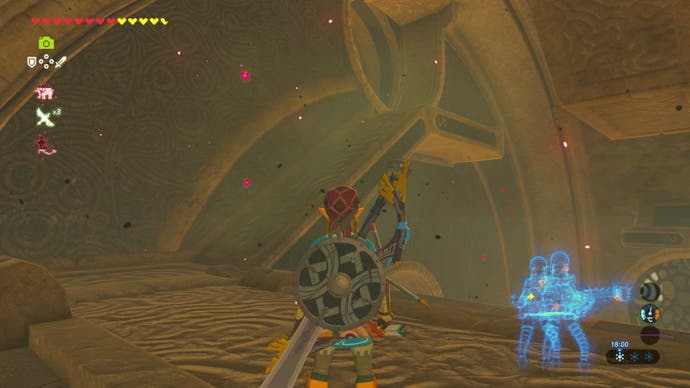
This will take you outside via some circuitry you can manipulate with Magnesis. Move the components to either end, so the connection lines up from the central area to the outside.
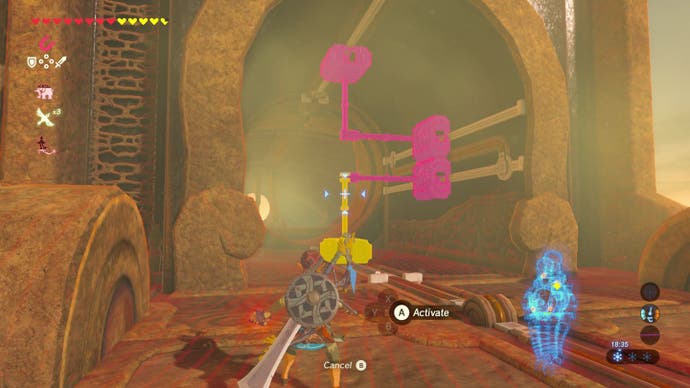
Next, rotate the rooms of the Beast so the circuit goes along the ceiling, completing the connection and causing the back of the beast to move up, and the front of the beast's interior to rotate.
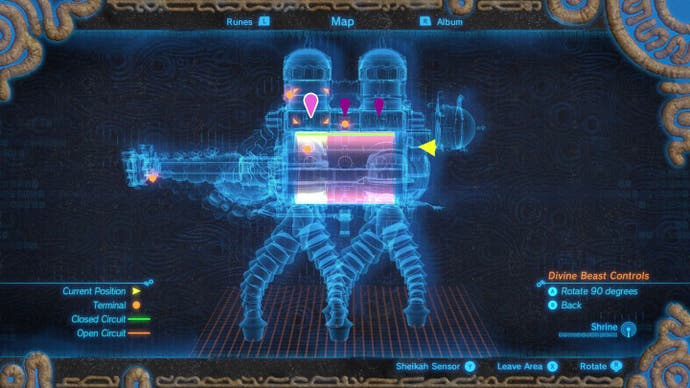
This position is key to solving several Terminals and accessing other areas. Remember that if you break the signal and move one of the sections away from the ceiling, the back will return to being flat and the front interior will stop rotating, but you can simply line up all three sections so the circuit runs across the ceiling to resume it again.
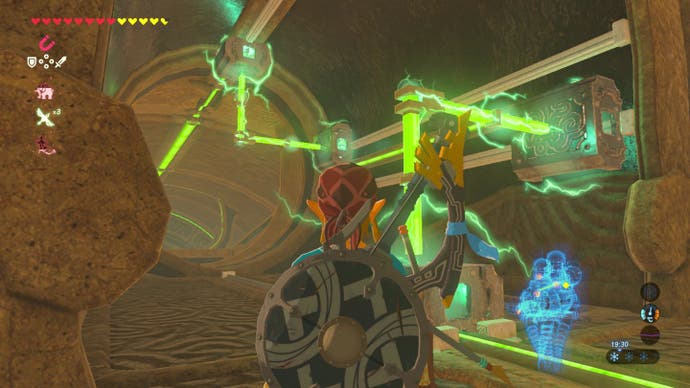
With the circuit connected along the ceiling, head back inside to the main hall, then to the very front where there's now a rotating wall. Stand in one of the doorways as it reaches the bottom, and let it carry you to the top as it rotates round.
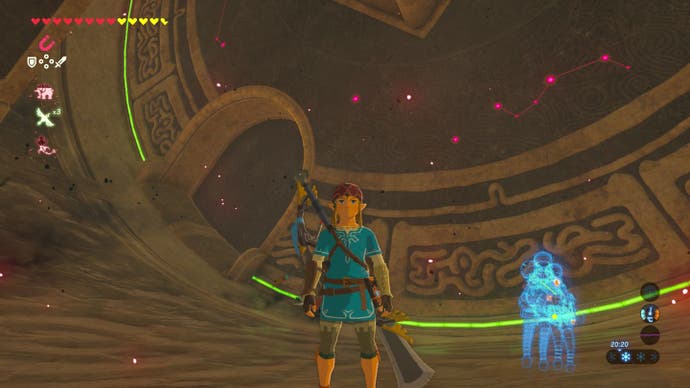
Looking back into the Ceast, you can glide onto a platform at the top (you may need to leap from the side of the doorway to get a little extra height) then a short hop to the Terminal on the right.
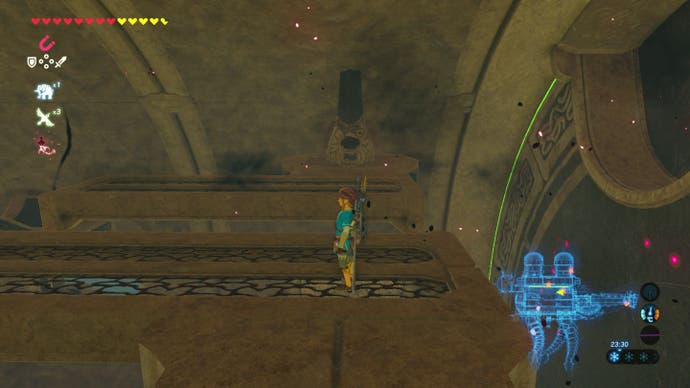
Optional chests in the Vah Rudiana dungeon
From this height and while you're here, it's now easier to get many optional chests if you fancy it - otherwise scroll down to the next Terminal. First, the two chests hovering in the central section.

Rotate this section until one is facing up, and drop down from this upper vantage point. Rotating it will break the circuit and stop the front wall from rotating, so for the other chest, connect it back up, get to the ceiling again, and rotate the middle segment round all the way so you can access the other chest, and drop down once more. There is a Knight's Bow and Ancient Shaft to be found in these chests.
Now, connect the circuit along the ceiling again to rotate the front wall, then ride it up and drop down so you're standing on a ledge in the front segment that's about halfway up. Turn around and face forward, so you can see into a corridor that stretches through the Beast's neck that's ahead.
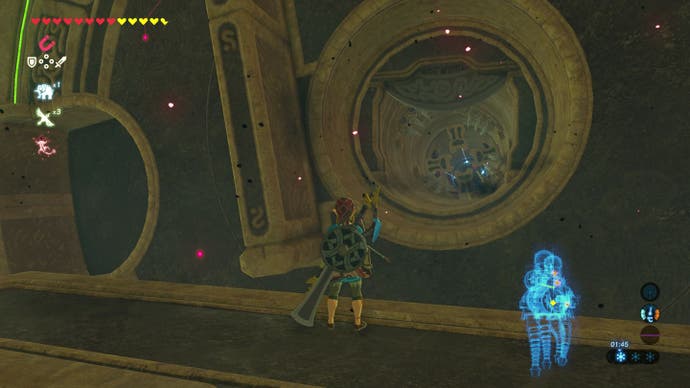
Wait until the platform underneath comes around so you can leap across, and sprint down past the spinning obstacles. It's best to wait until a laser just appears from left to right so you have plenty of time to get to the end, where there's a chest with a 40 strength Knight's Shield - a pretty useful piece of kit.
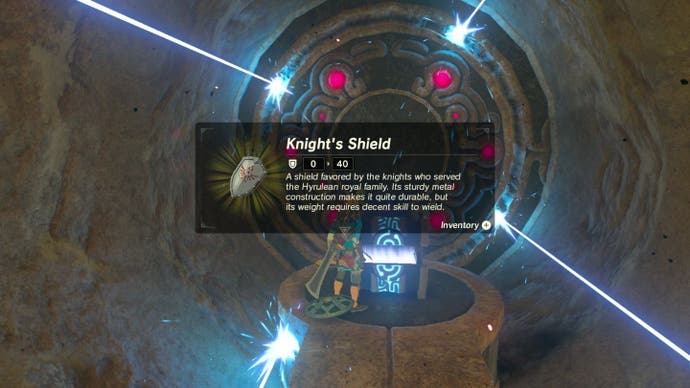
Time to go outside. Rotate all three sections so the circuit is along the ground, then stand next to the main control unit via one of the side ramps. Instead of going outside to where you activated the first Terminal, head opposite and out on the left side of the beast.
On this outside ledge, head to the back of the beast and into a room where there's a chest with Bomb Arrows. Return back out and go towards the front, killing the Guardian Scout and then stand by the damaged wall. Blow it up with a Bomb so you can see inside.
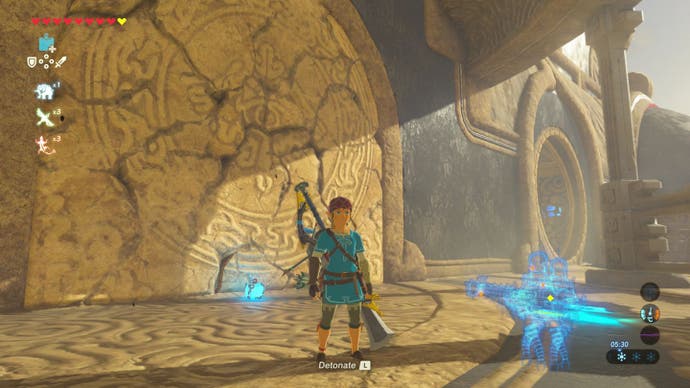
Stand in this newly created window, and rotate the front section twice, so you ride around on the lip of the window and stop on the opposite side, in front of another cracked wall opposite. Blow that up with a Bomb too, and head outside, where you'll find an Ancient Spring.
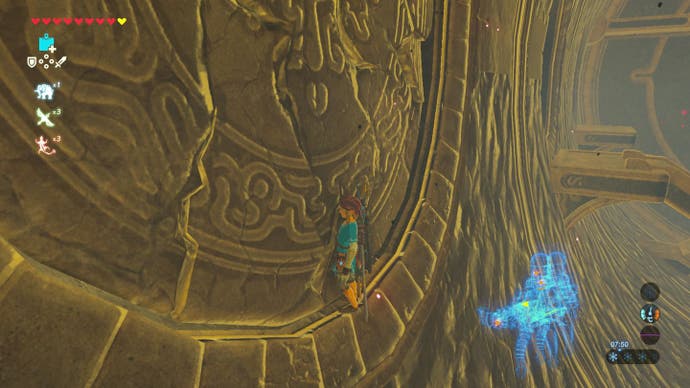
Finally, there's a chest out the back room on the ground floor if you line the circuits along the bottom, suspended by a rope. This requires some Rune trickery; suspend it in the air with Statis, shoot the rope to cut it free, then use Magnesis when Statis wears off. Once you get it safely on the ground, there's an Ancient Core inside.
Third Terminal in the Vah Rudiana dungeon
Line up the circuit so it runs along the ceiling of all three sections again, then head to the front of the beast and the rotating wall, and stand in one of the doorways at the bottom so it carries you to the top again.
Here, you can jump out outside towards the front of the beast, where there's a wheel on the ground. Spinning it one direction will move a dial on one side of the platform, and spinning it the other direction a wheel on the opposite side.
Rotate each one so a light lines up with the circuit on the sides (if you miss, you have to keep spinning all the way round again) until they both line up.
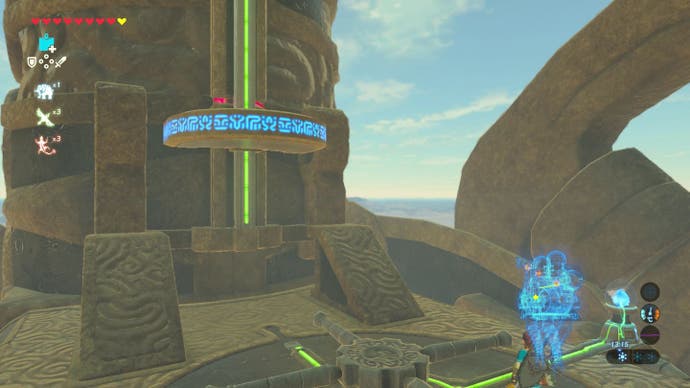
Doing so will cause the Beast's neck to rise into the air, and a platform to appear. Ride it to the top and the Terminal will be there.
Fourth Terminal in the Vah Rudiana dungeon
Remember where you completed the circuit at the back of the Beast and caused the tail section to rise? Return back there, but then ensure the back of the Beast is lying flat by breaking the circuit. Now run to the very tip and stand so the ledge here on its side is next to you.
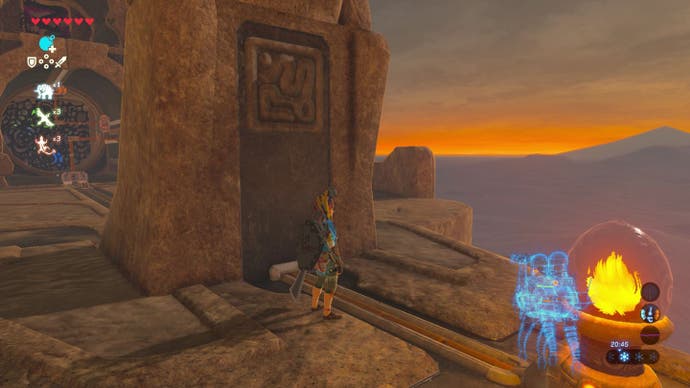
Complete the circuit along the ceiling again so the back rises, and when it does, you'll stand on the ledge so you're on top of the Beast.
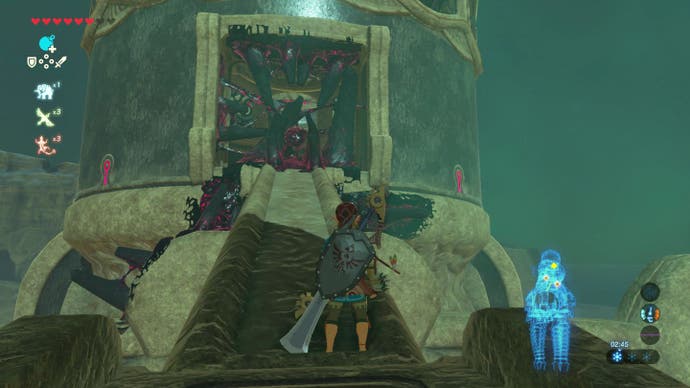
There is a closed Eye here blocking the doorway, but you can open and defeat it by getting close up and locking on.
Inside is an elevator. Take it down, and shoot the Eye at the bottom, clearing the doorway back outside. This allows you to take a shortcut next to where you used Magnesis to connect the circuit via a climbing wall on the left, so you don't have to lower and raise the back again.
As you ride this elevator, there's a ledge to the side with a green electrical orb on it. Hop off and pick it up, then get back on the elevator and take it to the top.
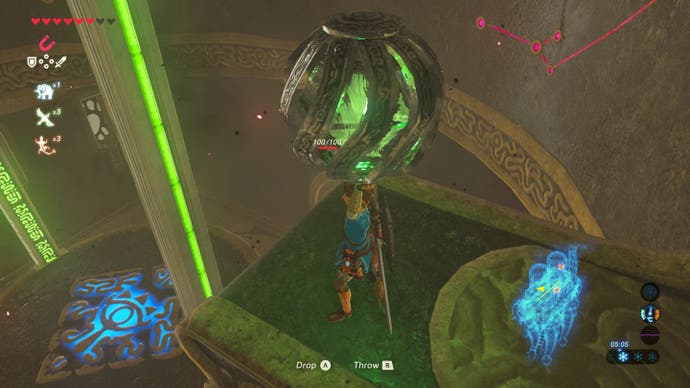
Here, if you position the green electrical orb next to the lantern on this floor (you will have to shoot the Eye on the wall and clear away the Calamity to see it) it'll activate a horizontal elevator along the back of the Beast.
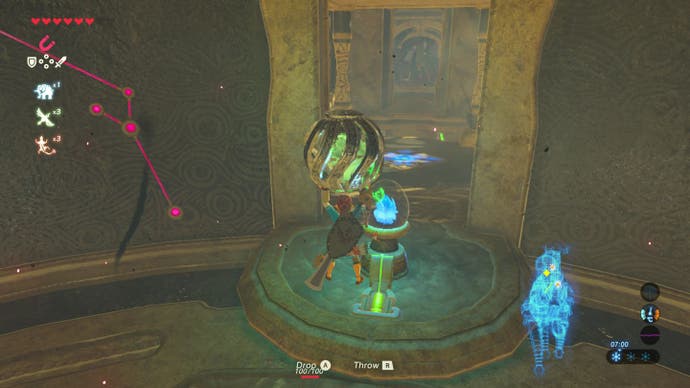
Leave the orb by the lantern to move this horizontal elevator, ride it over, and there will be another vertical elevator with a Terminal covered in Calamity.
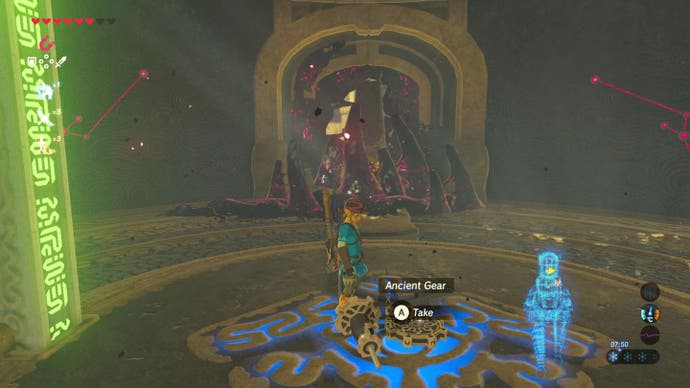
Kill the Guardian Scout on the elevator and ride it down, then look up on the ceiling underneath the Terminal for an Eye. Shooting it will clear the Terminal, so ride up and activate it.

Thanks to a new update, it's now possible to play Zelda Breath of the Wild in VR. Want help with the main game? Our Zelda: Breath of the Wild walkthrough can help complete Divine Beasts Vah Ruta, Vah Rudiana, Vah Medoh and Vah Naboris and more. There's also how to get the Master Sword, Hylian Shield and all Zelda Captured Memories and Great Fairy Fountain locations, while our Shrines locations and Shrine maps hub explains where to find and solve every puzzle room, including dragon locations and Labyrinth solutions. We also have a DLC 1 guide and DLC 2 guide, including all Tingle, Majora's Mask, Phantom, Midna outfit locations.
Fifth Terminal in the Vah Rudiana dungeon
Ride this elevator all the way to the top for another green electrical orb (before you go, on the opposite side you ride the top of the horizontal elevator for a chest with a Topez) and carry the orb down to the middle level you boarded from.
Take it back to the horizontal elevator, and mid-transit, drop down on the Beast's back proper, where there's a hole.
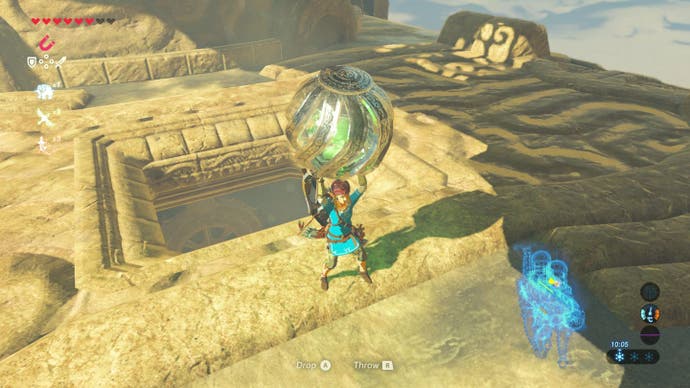
Drop down with the orb, clear the two Guardian Scouts, and place the orb on one of two plinths by the gate. Now head back up via the elevator, grab the other orb you used earlier to power the horizontal elevator, and use it on the other plinth to open the gate and access the final Terminal.

Now for the boss, Thunderblight Ganon. To reach the main control unit, head to the interior's rotation sections and have the circuit running along the ground. As you did when reaching the map room, run up the far back wall, up the slope, and hop over to the centre, where it'll be waiting.


