Final Fantasy 7 Rebirth Pirate King¡¯s Treasure Hunt walkthrough, including Pirate¡¯s Grotto locations
Where to find every Pirate¡¯s Relic for the Corsair¡¯s Compass.
Final Fantasy 7 Rebirth has a little Pirate King's Treasure hunt side mission for you to undertake, and it can bestow a pretty powerful and useful accessory on you.
There are five Pirate King Treasure maps in total in Final Fantasy 7 Rebirth, and finding them all will let you craft the Corsair's Compass, which will partition your ATB gauge into five segments, and also let you find treasure on the open seas.
In this full guide, we'll walk you through where to find every Pirate's Relic in Final Fantasy 7 Rebirth, as well as all the Pirate's Grotto locations, so you can make this side mission as smooth as possible.
On this page:
Explainers:
Pirate's Grotto locations:
How to start the Pirate King's Treasure hunt in Final Fantasy 7 Rebirth
To begin the treasure hunt in Final Fantasy 7 Rebirth, you need to have reached Chapter 12 of the remake sequel. At this point, Cid's Tiny Bronco will become a watercraft, and you'll be tasked to steer it back to the Costa Del Sol port.
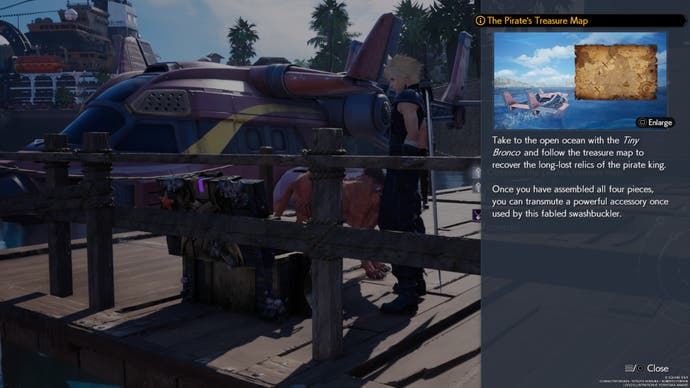
Once docked at the port and back on the jetty, turn around so you're facing back out to sea, and you'll see a treasure chest. You'll know the treasure chest from the weird purple swords logo above it, and by opening this chest, you'll acquire the crafting recipe for the Corsair's Compass, and begin the Pirate King's Treasure hunt in Final Fantasy 7 Rebirth.
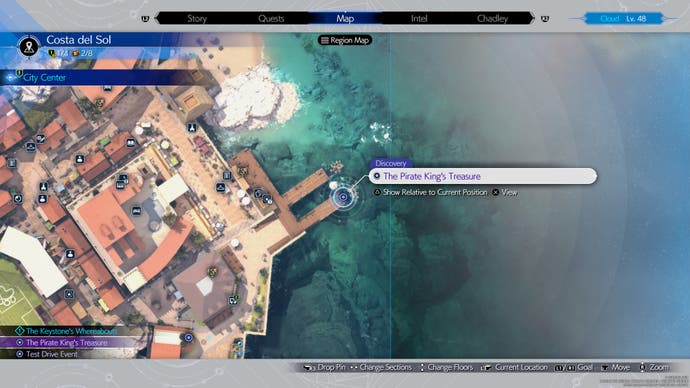
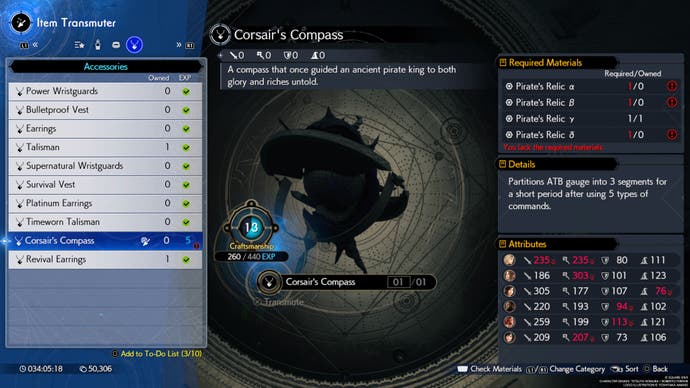
Go to the crafting recipe, and you'll see you need four Pirate’s Relic items, each of which can be found at the four Pirate's Grotto locations dotted around the ocean between Costa Del Sol and Junon. Read on for the locations of all four Pirate’s Grottos.
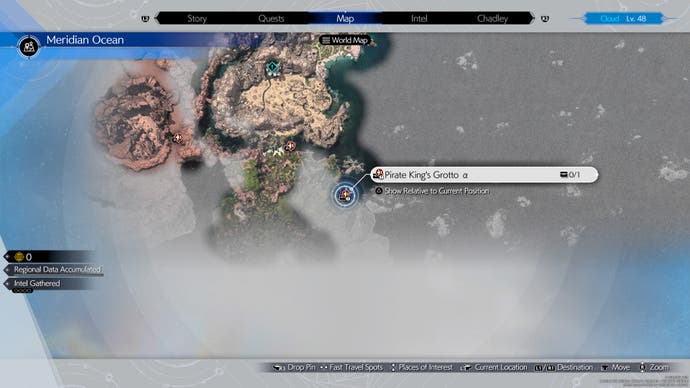
Pirate's Grotto A location in Final Fantasy 7 Rebirth
First up is Pirate's Grotto A, which is located immediately south of Costa Del Sol. You can see it marked on the map below - basically follow the coast south, so you're far to the southeast of the Gold Saucer, and you'll find Pirate's Grotto A with a jetty ready for you to dock.
You now need to fight the Ogre Raider when you're on dry land, before you can claim the Pirate's Relic. This fight isn't too tough - just make sure to bring Barret or Tifa into battle with you, or someone who's good at significantly adding to a foe's stagger metre relatively quickly with their abilities.
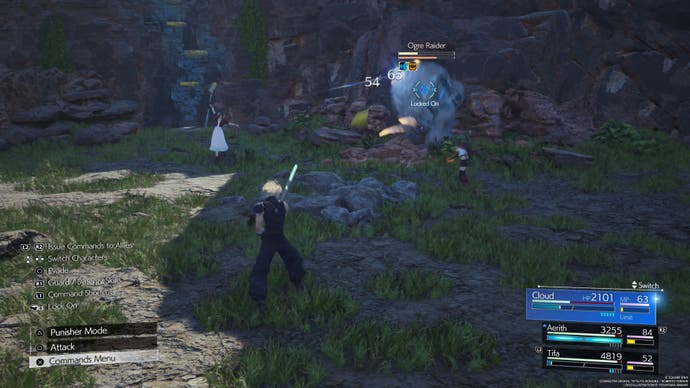
Once you've defeated the Ogre Raider, the Pirate's Relic A can be found in a chest up the cliff at the back of the arena.
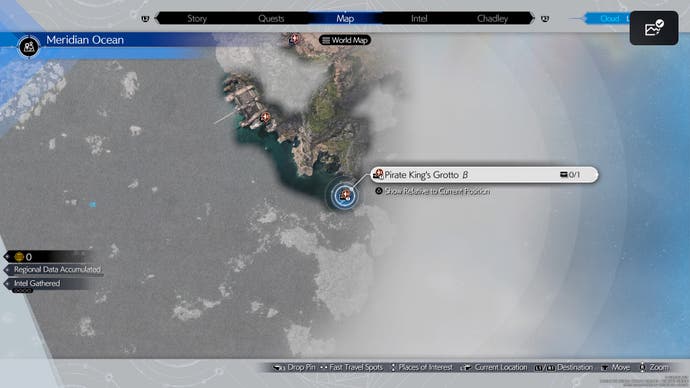
Pirate's Grotto B location in Final Fantasy 7 Rebirth
For Pirate's Grotto B, you need to go south from Junon, hugging the coast once again. You'll find Pirate's Grotto B at the location just below in Final Fantasy 7 Rebirth. It's basically southeast directly from Junon.
This time, you need to fight the Brineborn Demon, which can put up a pretty tough fight. Remember to back off from this foe whenever it readies its air-based elemental attacks so you're not caught in the area-of-effect, and use fire and lightning-based damage to up its stagger metre pretty quickly.
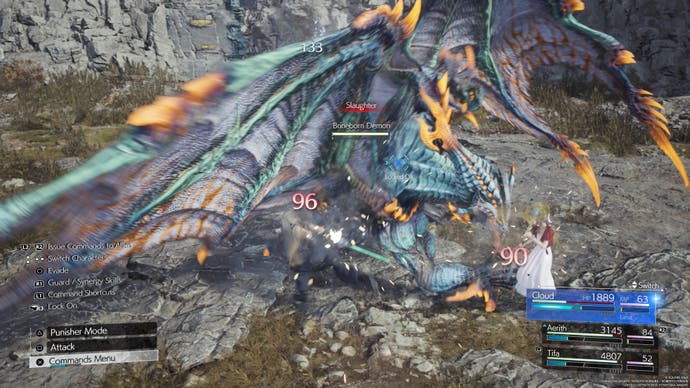
Pirate's Relic B can be found in a chest at the back of the Brineborn Demon's arena, once you've scaled up a small cliff face.
Pirate's Grotto C location in Final Fantasy 7 Rebirth
For Pirate's Grotto C, you need to head north and slightly east from Costa Del Sol. This spot is actually a fair trek for the Tiny Bronco, and it can be found partway up a narrow crossing between two hunks of land, which leads to the northern reaches of the entire map.
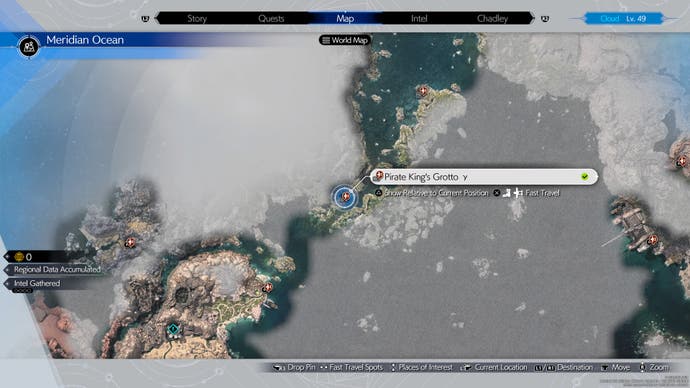
Pirate's Grotto C will have you fighting a Hueyacoatl, and they can be tough to take down. It deals lightning-based damage, so either focus on ice-based attacks for some neat elemental damage, or wait until it's up in the air and pile on some ability-based attacks from the likes of Cloud and Barret to heap the pressure on it.
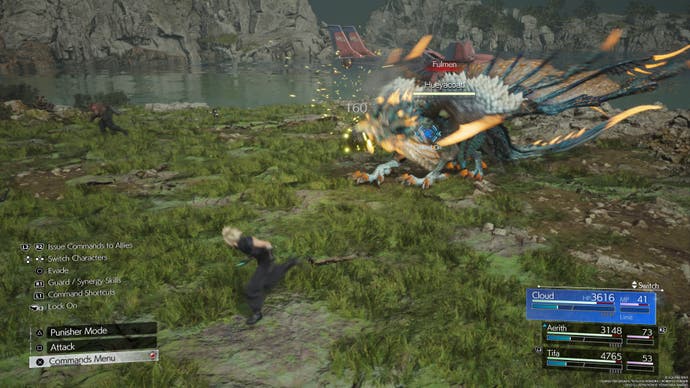
As always, the Pirate's Relic item can be found in a chest at the very back of the arena.
Pirate's Grotto D location in Final Fantasy 7 Rebirth
Pirate's Grotto D in Final Fantasy 7 Rebirth can actually be found just north east from Pirate's Grotto C. Simply continue up the narrow straight, then bear northeast once the straight opens out, and you'll be there in no time.
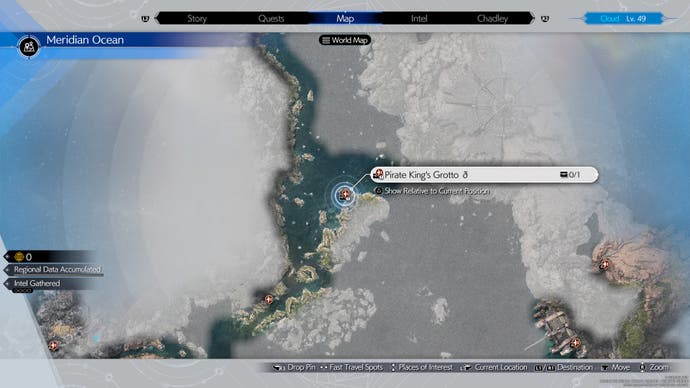
This time, we're fighting against a Sea Dragon for the Pirate's Relic, and it's a tough customer. Make sure you're ready for dodging fire-based area-of-effect attacks, and have Aerith on standby for healing duties. Additionally, pelt the Sea Dragon with ice-based attacks to deal maximum damage.
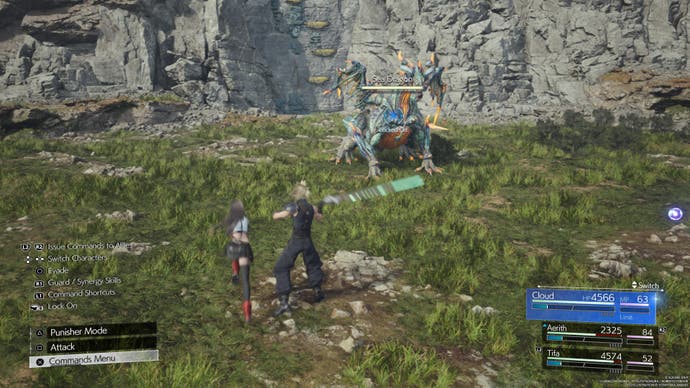
To collect the final Pirate's Relic item, scale the wall at the back of the Sea Dragon's arena, and open the chest.
Final Fantasy 7 Rebirth Corsair's Compass explained
With all four Pirate's Relics collected, head into the 'Item Transmuter' menu in Final Fantasy 7 Rebirth's pause menu, and you'll be able to craft the new accessory immediately (after Red 13's lovely little scene once you've collected all four relic items, of course).
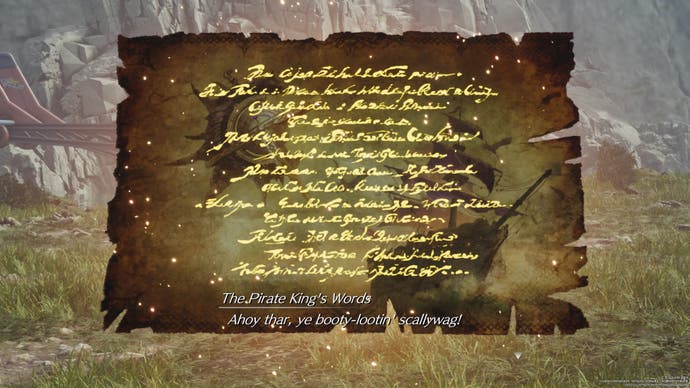
The Corsair's Compass will partition the user's ATB gauge into five segments for whoever has it equipped. This is brilliant because it basically allows you to charge up and unleash more ATB commands in a single battle. We'd recommend equipping it to the character you most use in battle.
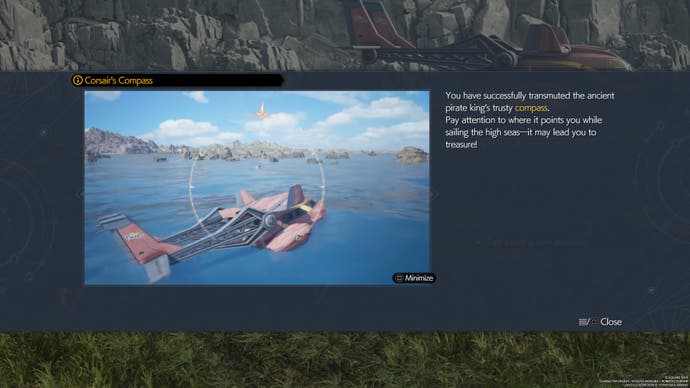
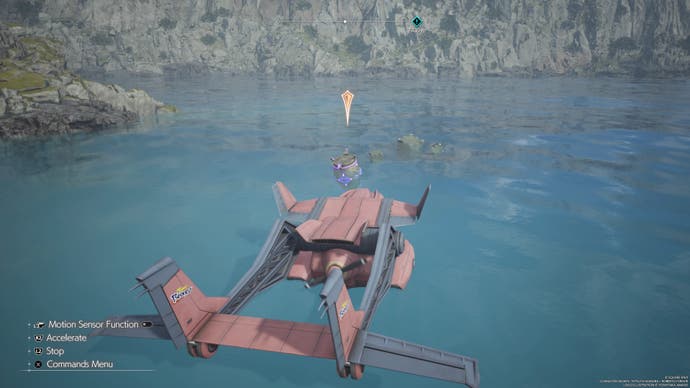
Additionally, the Corsair's Compass can also lead you to treasure on the high seas. With the item equipped, you'll periodically see the HUD element pop up while you're in the Tiny Bronco, and this means you're near treasure.
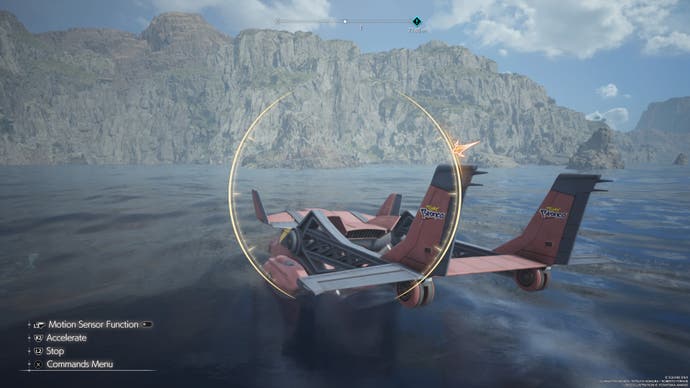
Position the arrow so it's at the top of the HUD, and keep going forward, and eventually you'll find the treasure at sea, denoted by the arrow above the container, as below. Driving through this with the Tiny Bronco will collect whatever items are hidden within - they're always crafting items, and very rare ones at that.
Good luck finding all the Pirate's Grotto locations and crafting the Corsair's Compass in Final Fantasy 7 Rebirth!
