Elden Ring Volcano Manor quest, rewards for all Lady Tanith assassinations
Whether it's through Lady Tanith or Prison Town, how to find and complete Volcano Manor.
Volcano Manor is an optional area in Elden Ring, located on Mt. Gelmir, home to some interesting quests and characters.
This includes Volcano Manor's proprietress Lady Tanith and her intimidating Crucible Knight bodyguard, and if you’ve taken a shine to recurring FromSoftware character Patches, you’ll also want to come here at some point.
More importantly, Volcano Manor is home to one of Elden Ring’s demi-gods Praetor Rykard, even if, like Starscourge Radhan, you don’t have to defeat him in order to progress the main story.
Once you reach Volcano Manor, there are also multiple ways to reach Rykard - either through completing Lady Tanith's assassinations or exploring Prison Town - and this page will help you through every step.
On this page:
Elden Ring Volcano Manor location
Volcano Manor is located on Mt. Gelmir, west of Altus Plateau, so you will typically have acquired the two medallion halves to use the Grand Lift of Dectus, unless you found the alternate path in Liurnia via Ruin-Strewn Precipice.
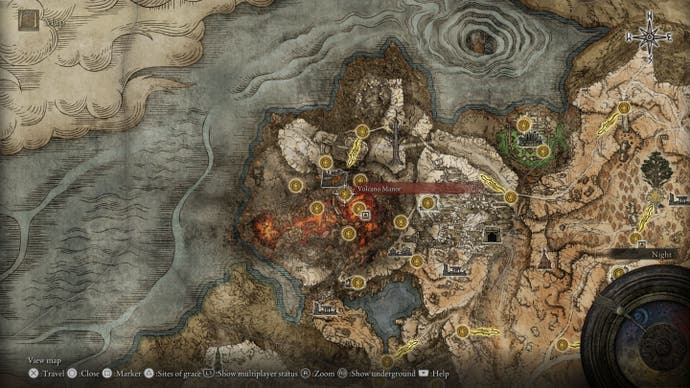
Incidentally, reaching Volcano Manor is the same path for finding the map fragment for Mt. Gelmir. This requires a long route that has you exploring most of the mountain.
The first path is to first reach Leyndell's Outer Wall first from the northwest of the capital (nearest Site of Grace is 'Outer Wall Battleground').
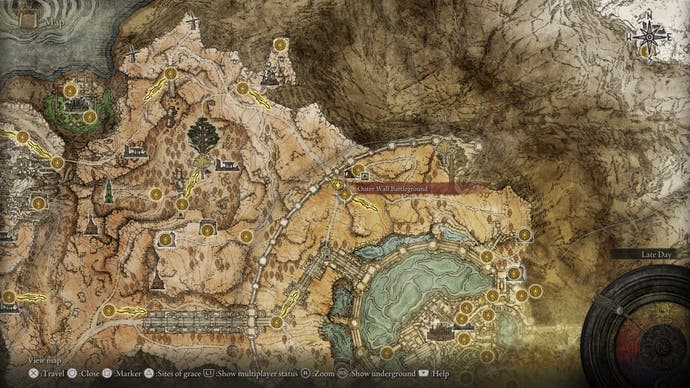
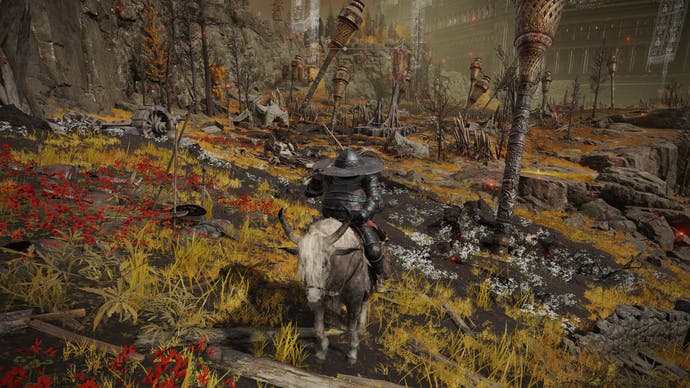
From here travel north of Altus Plateau, where you'll likely be fired on by nearby catapults. You’ll also pass by Windmill Village but continue west until you reach a Site of Grace called 'Road of Iniquity: Side Path'.
From there, you'll pass a troll caravan and eventually cross the Bridge of Iniquity that takes you to Mt. Gelmir, with a Site of Grace on the other side.
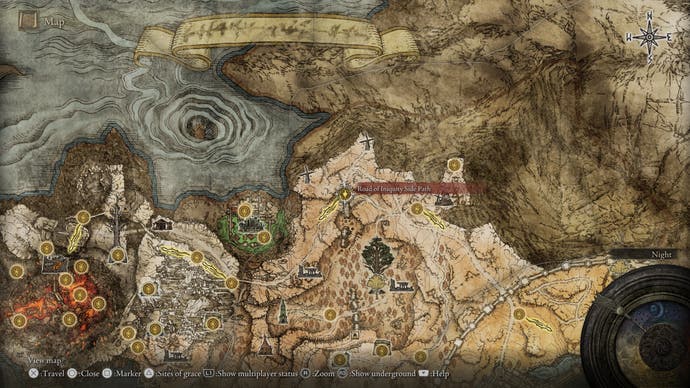
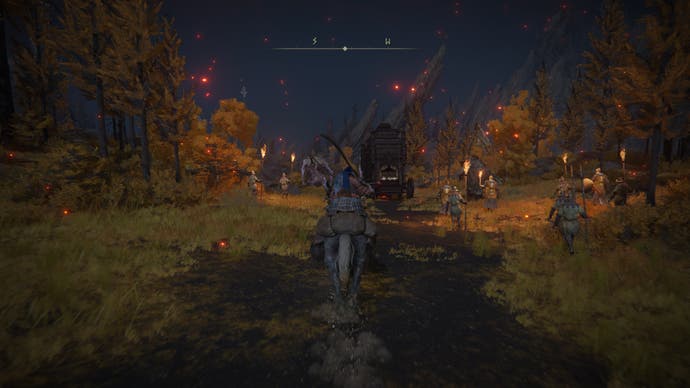
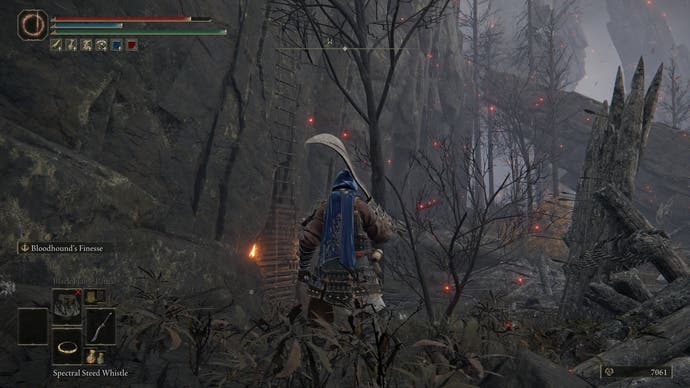
If you follow this path northward, you'll eventually come to a dead end. Instead, from the Site of Grace, keep to the cliff face on the left and you will eventually see a ladder you can climb up, taking you to another Site of Grace for 'First Mt. Gelmir Campsite'.
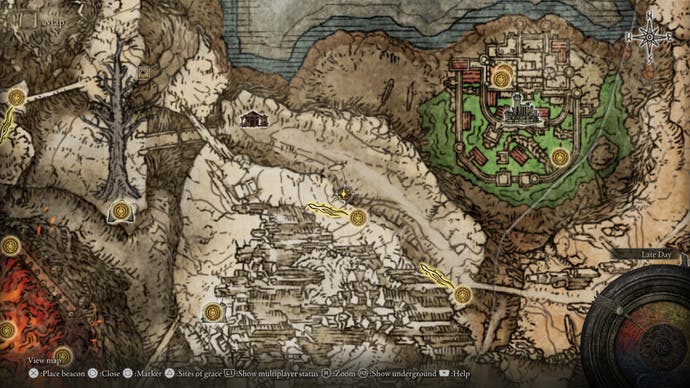
An alternative route to Mt. Gelmir (so you don’t have to go to Leyndell and all the way around Altus Plateau), is by approaching it from its base.
From southwest of Altus Plateau’s 'Erdtree-Gazing Hill' Site of Grace, you can head north past Wyndham Ruins where you’ll reach the base of Mt. Gelmir at a Site of Grace called 'Seethewater River', with geysers that occasionally blast hot gas from the ground.
You’ll also find a Golden Seed along this path.
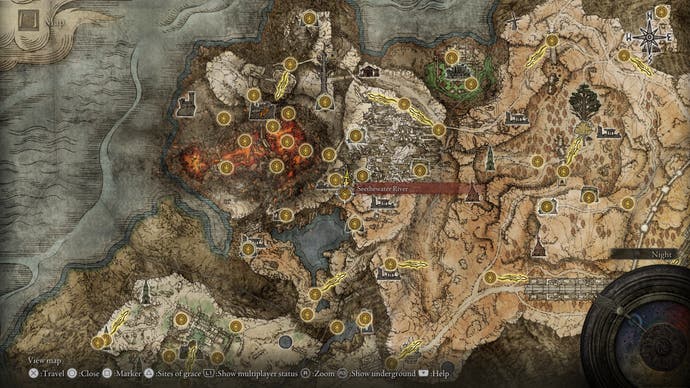
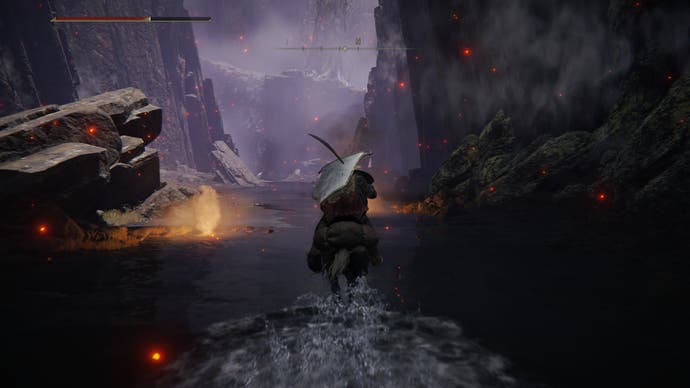
Ride along this route and it will take you northwest of Mt. Gelmir to a Site of Grace called 'Seethewater Terminus' while Fort Laeidd is also nearby.
If you haven’t yet found the map fragment for this area, you may notice the marker indicating its location is close by, except it’s much higher up the mountain. But there is a way up here!
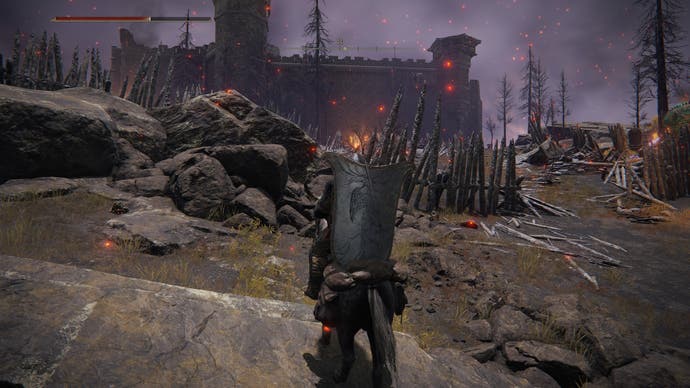
From Fort Laiedd, head south and you’ll come across a lava lake where you’ll also encounter a Magma Wyrm area boss, although you don’t have to fight it.
It’s possible to use Torrent to ride across this lake of fire and he’ll only suffer chip damage.

Once you’ve crossed this lake, continue following the route and it will take you gradually around and higher up the mountain until you’re southeast of Mt. Gelmir in a place called Hermit Village.
At the end of this village is an area boss called Demi-Human Queen Maggie, though you can again skip this (but look out for Primeval Sorcerer Azur nearby, an NPC who will give you the Comet Azur sorcery.
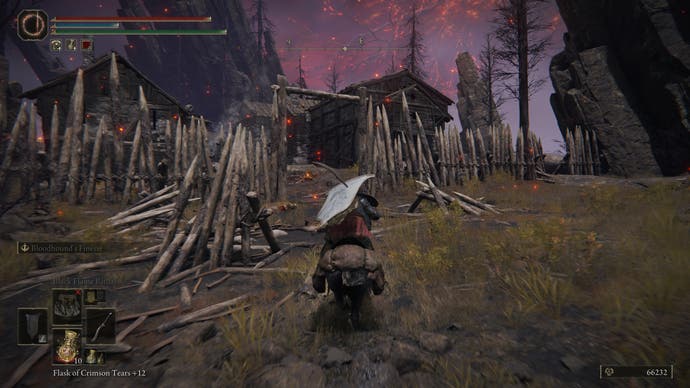
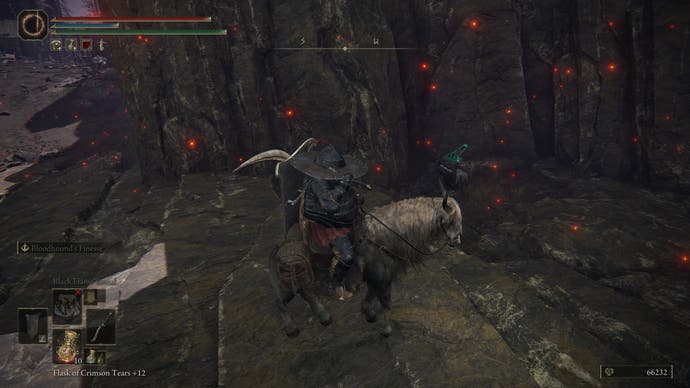
At the very end of the village is a long jagged rock path that will drop you down to nearby Gelmir Hero’s Grave, and you’ll basically find yourself high up Mt. Gelmir, where your paths would converge if you had come from the First Mt. Gelmir Campsite.

Whichever path you take, continue northwest over a jagged rock path to the remains of a campsite and you’ll have another ladder in front you can climb up, and then another, where you'll also pass a nomadic merchant.
Once you've reached as high as you can go, straight ahead (west) is another bridge and on the other side is a Site of Grace for the Ninth Mt. Gelmir Campsite (what happened to the second through to eighth though?).
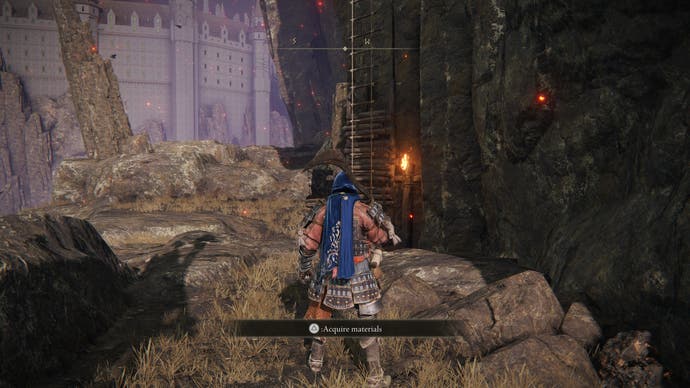
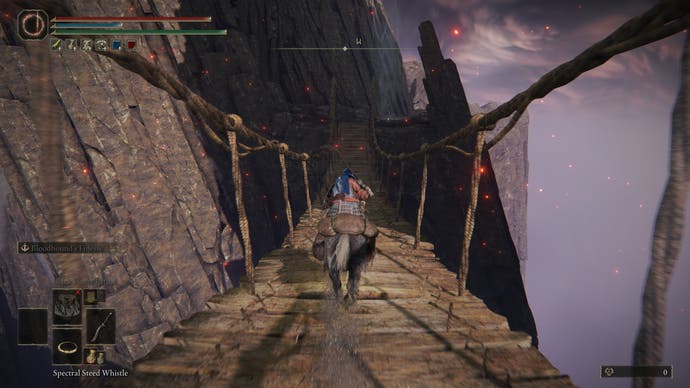
There’s a ladder to the left or you can use Torrent to ride up a gust to the mountain’s peak. A tough area boss awaits here but you can skip this for now and head along another jagged rock path on the right. Drop down and you’ll find Volcano Manor to your left.
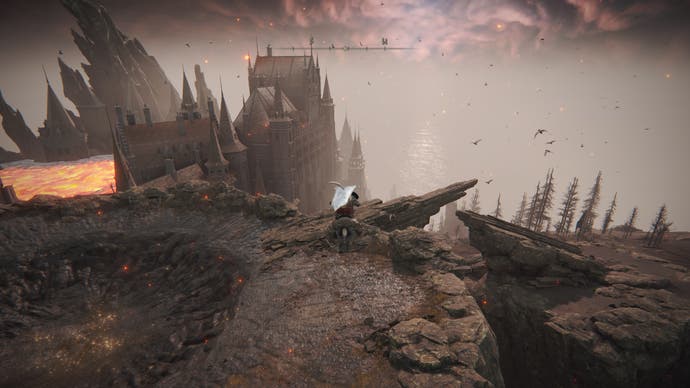
You’ll also find a Golden Seed nearby while if you continue around the other side you’ll also find a Site of Grace for 'Road of Iniquity' and the location of the map fragment for Mt. Gelmir.
Lady Tanith and joining Volcano Manor explained
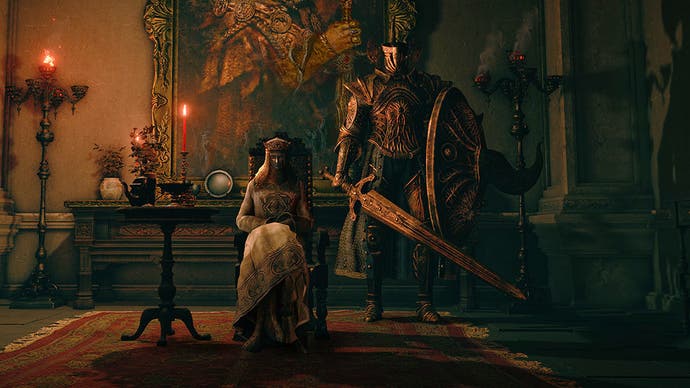
Once inside Volcano Manor, just to the right of the Site of Grace, you’ll meet Lady Tanith, the manor proprietress, and her bodyguard, a Crucible Knight (and if you’ve fought a few of them already, you’ll know they’re not to be messed with).
Speak to her and she’ll explain how the manor, and its mysterious master, is in opposition to the Erdtree and they want to recruit you to their cause.
While the choice sounds somewhat ominous, joining the manor won’t alter or lock you into a set story path, but if you don’t join, you won’t be able to access other parts of the manor, so go ahead and join.
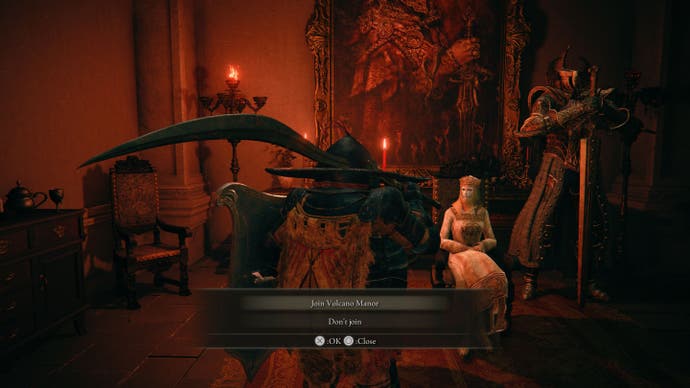
Once you’ve joined Volcano Manor, Tanith will give you the drawing room key, which will allow you to open most of the drawing rooms to the right of the manor.
After reloading the game once, if you’ve already met Patches at Murkwater Caves, you’ll find that he is crouching in the manor’s hallway entrance, ready to peddle you his wares and also offer a quest of his own later on.
If you don’t join the manor immediately, you can still take the stairs on the left-hand side to the upper floor.
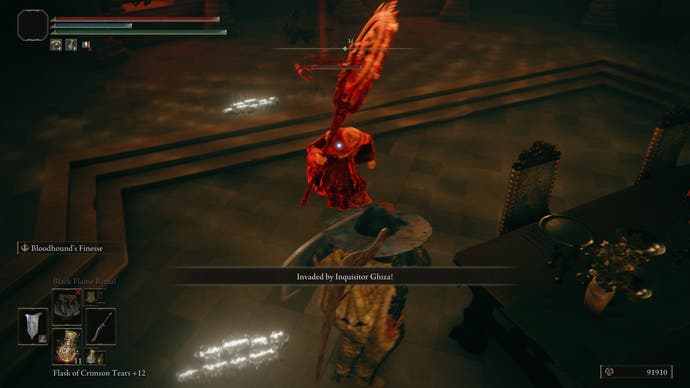
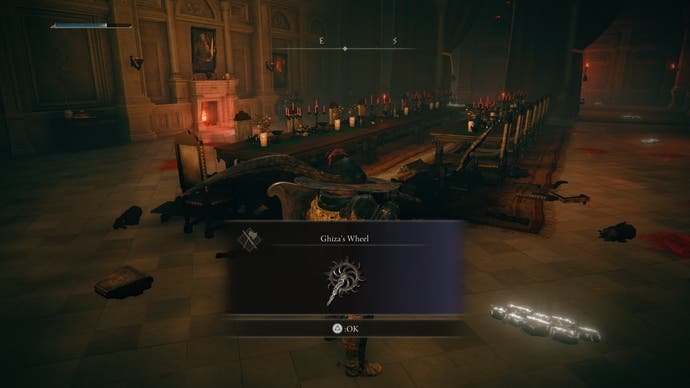
Head deep into this room and you’ll be invaded by Inquisitor Ghiza who wields a heavy spinning wheel. Defeat him and you’ll get Ghiza’s Wheel for yourself.
Volcano Manor quest explained: How does Lady Tanith’s assassinations work?
After you join Volcano Manor, Tanith will give you requests in the form of letters with details of a Tarnished you are to hunt down.
These letters can be found in the large drawing room on the left (i.e. the room that has two doors). You’ll find it as a glowing item on a table opposite an NPC called Knight Bernahl.
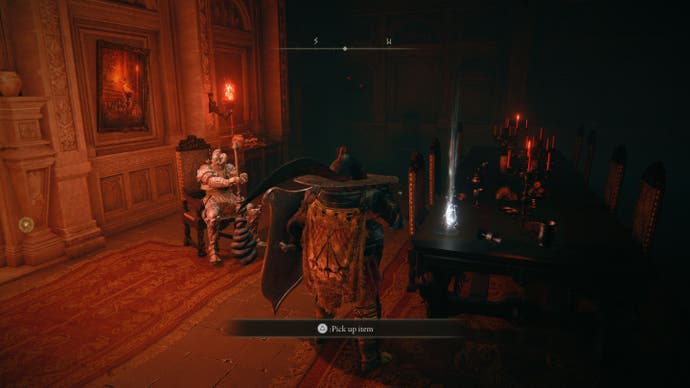
Each letter can be accessed from the Info tab in your inventory, which will provide the name of the target and their location. These also appear as a red mark on the world map, so finding them is fairly straightforward.
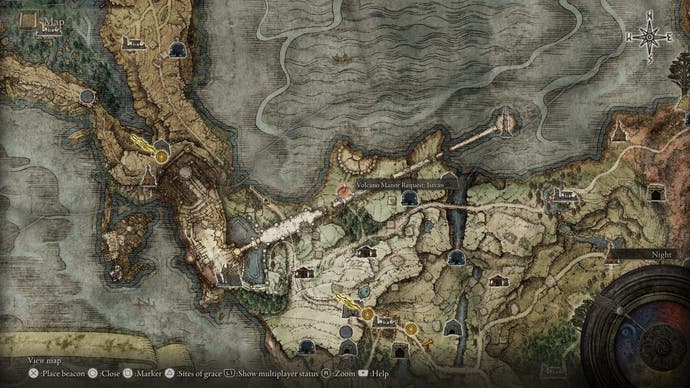
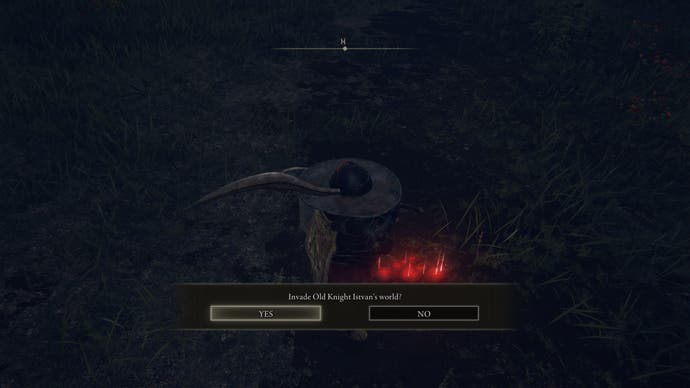
Once you’ve reached the location on the map, you’ll find a red sign on the ground that lets you invade the world of that character.
These will be 1v1 duels, except this time you’re the invader, and your targets can also heal themselves with flasks. But otherwise, they shouldn’t prove to be too much of a challenge, and if you die you can just select the sign and try again.
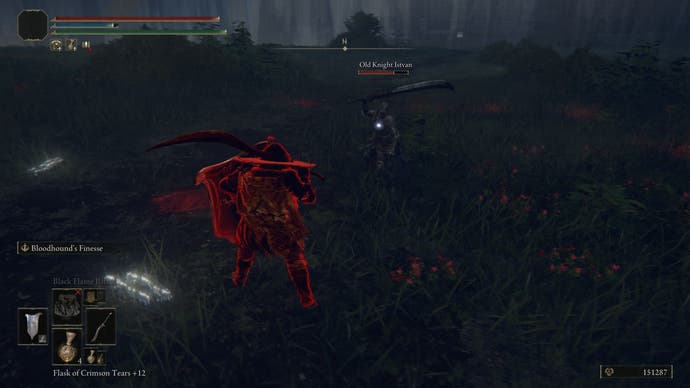
When you have killed your target, return to Volcano Manor and speak to Tanith and she will give you a reward before the next letter appears in the drawing room.
Lady Tanith assassination locations and rewards
After your first assassination, if you speak to Patches, he’ll offer you his own letter with an assassination request. If you speak to Bernahl, he’ll also have Ashes of War to sell you. After your second assassination, Tanith will also reveal that her master is none other than Lord Rykard.
The list of Lady Tanith assassination locations and rewards are as follows:
| Tanith's Mark | Location | Reward |
|---|---|---|
| Old Knight Istvan | Limgrave | Magma Shot sorcery spell |
| Rileigh the Idle | Altus Plateau | Serpentbone Blade |
| Juno Hoslow, Knight of Blood | Mountaintop of the Giants | Taker's Cameo talisman |
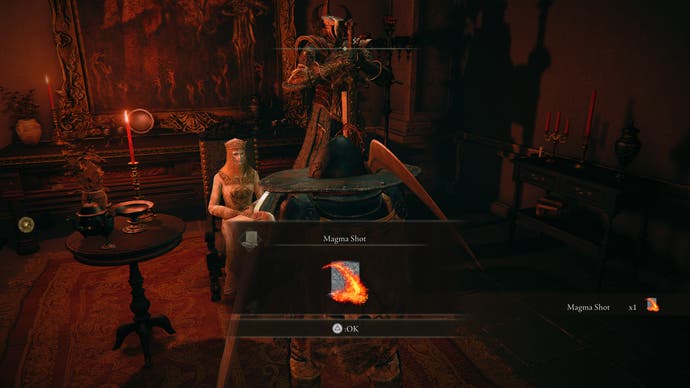
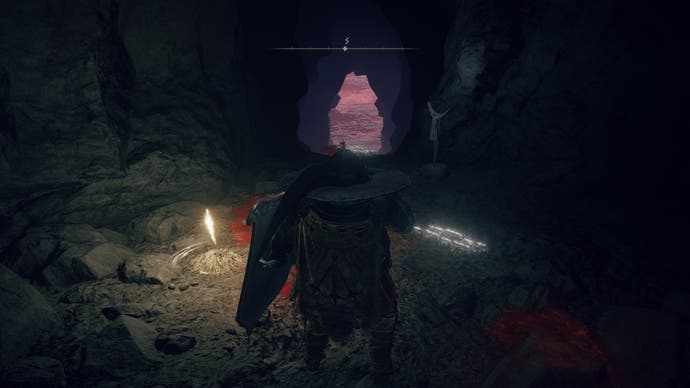
After your third assassination, Tanith will also grant you an audience with Rykard. Accept and you will be teleported to a cave with the boss fog ahead of you.
You don’t have to go in straight away though as there’s a Site of Grace here so you can always fast-travel elsewhere to prepare.
Volcano Manor Prison Town quest route
Instead of following Tanith’s requests, it’s also possible to reach Rykard earlier by finding him yourself. This requires journeying into a hidden prison town located beneath the manor itself.
After you’ve joined Volcano Manor and been given the drawing-room key, open the first door on your right in the drawing-room corridor.
It looks empty apart from a corpse in the right corner with a painting on the wall. Roll into this corner you’ll discover a fake wall with a secret pathway that takes you around the manor’s perimeter.
It’s dark, though, so be sure to have a light source with you and take care of poisonous snails lurking around.
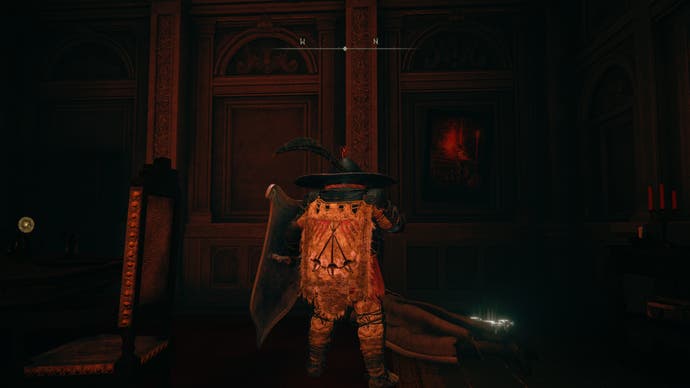
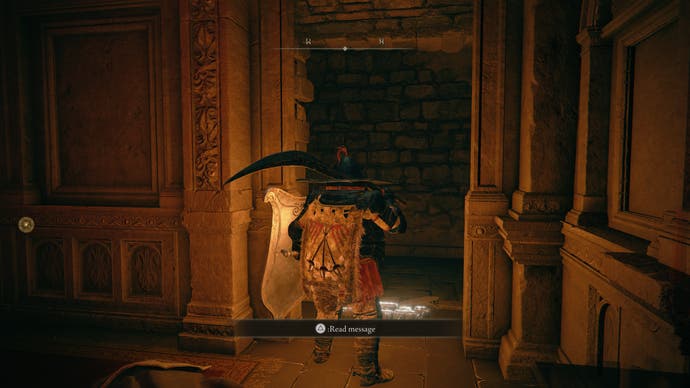
You can follow this path all the way around the manor to lead you to a room that was locked (the drawing room opposite the one with the fake wall) where you’ll find the Carmaan spirit ashes.
However, from the fake wall entrance, head straight then bear right to find steps that take you down to the basement floor.
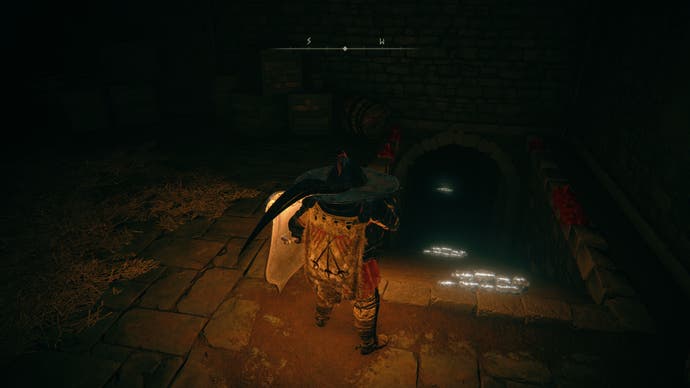
You’ll come to a room with a bloodhound knight lurking in the corner. His back is facing you so you can ignore him, or you can fight him and he will drop the Bloodhound Claws while you can also pick up a Fireproof Dried Liver in the corner.
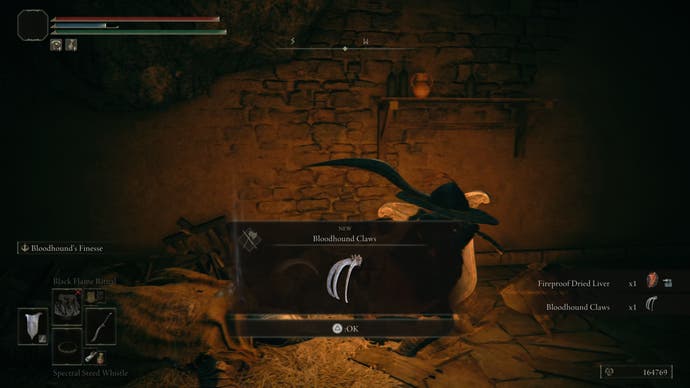
Otherwise, leave this room and follow the path around and you’ll find yourself inside Prison Town Church with a Site of Grace in the middle. Open the doors and welcome to Prison Town!
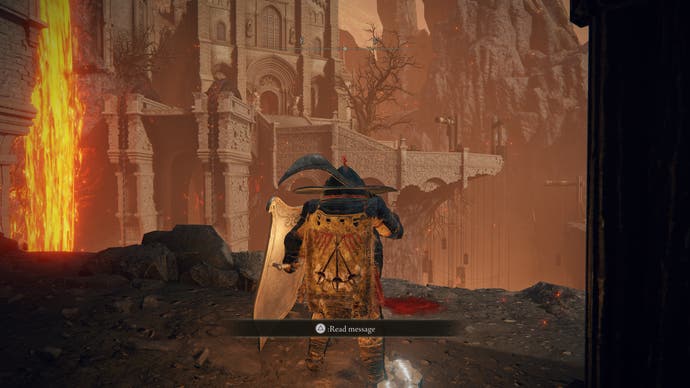
There’s a bit of a Bloodborne vibe to this hidden village, which can be a bit confusing with its own secrets, not to mention it’s all built on a big lake of lava. However, read on for a quick path on where to go to find the secret path to Rykard.
From the Prison Town Church turn right and head straight.
You can even follow the main path around, though you’ll be ambushed by rabid dogs and a virgin abductor, or you can jump across the rooftops of buildings in front of you, although take care as there enemies in the form of man-serpents.
Whichever you decide, you’ll soon reach the west part of town where a bridge takes you to a large house, except the front door is locked and it’s guarded by a man-serpent.
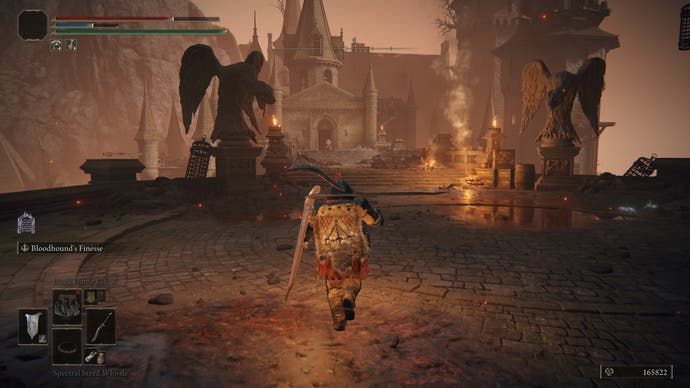
Head to the right of the house and there’s a ladder you can climb up to the rooftop. Head along the roof and drop down to the east side of the house where the door is open.
There are enemies inside but they are mostly weak so you can ignore them. You might however want to open the main door in case you have to pass through again.
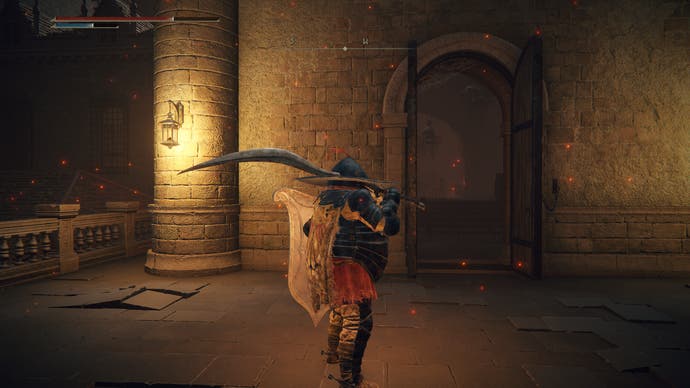
Head south and you’ll come to a landing with two flights of stairs heading down. Take the stairs but watch out for some new short enemies, which aren’t tough but if they scramble over to you, they’ll grab you and take a nasty bite out of you that can take a good chunk of your HP.
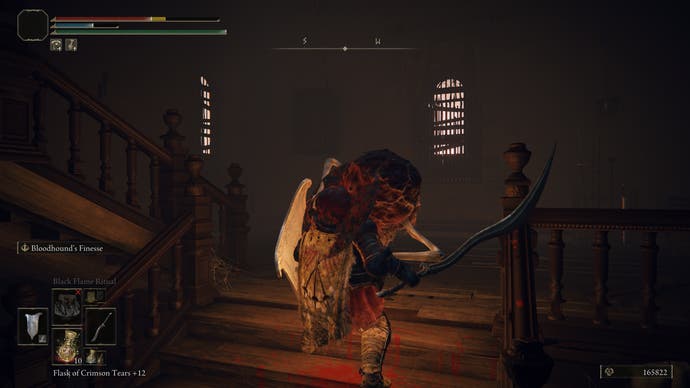
At the bottom, turn left and follow the path past an enemy that looks like he’s dangling from a torture device and then turn right and then straight ahead to open the doors to make your escape.
However, if you duck into a sideroom to the right, you’ll also find a Site of Grace for the 'Guest Hall', which will be a handy checkpoint.
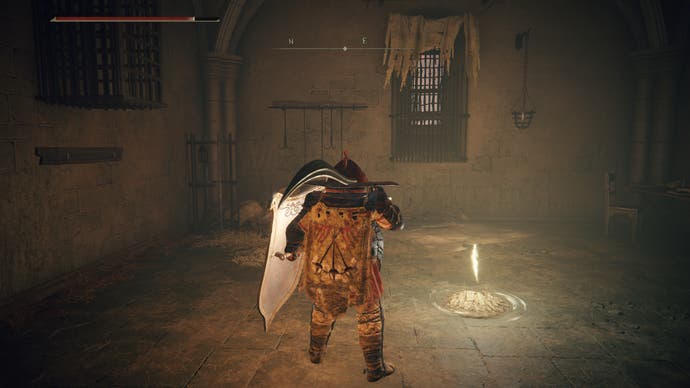
From the doors, to your right is a ladder where you can climb down to the lake of lava as well as some fiery slugs, but there’ll be some land to keep you from getting burned.
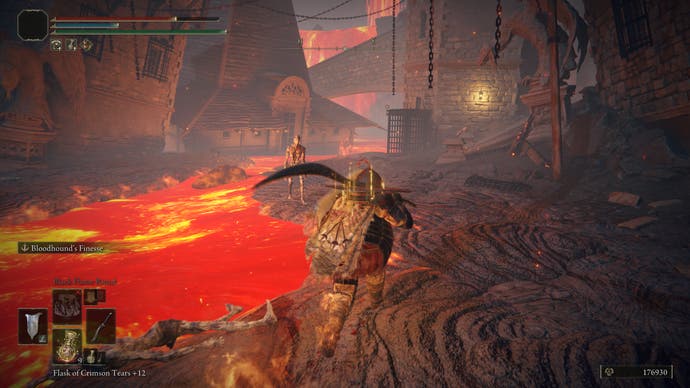
Follow this path east and stick to the right-hand side and you’ll eventually come to a path taking you up to an area patrolled by a man-serpent wielding a whip. There are also two cage lifts here, one in front of you and another on the right.

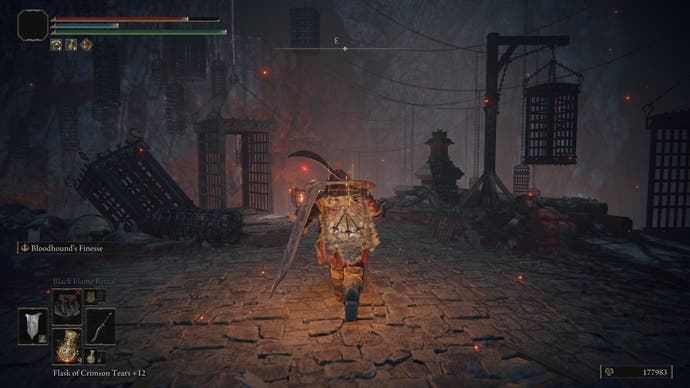
Step into the one in front and it will take you up to a temple. Take the stairs up but before you head inside the temple, look to your left and you’ll see a big handle.
Interact with it and you’ll raise a bridge, creating a shortcut back to Prison Town Church, which will come in handy as you’re about to take on a mini-boss.
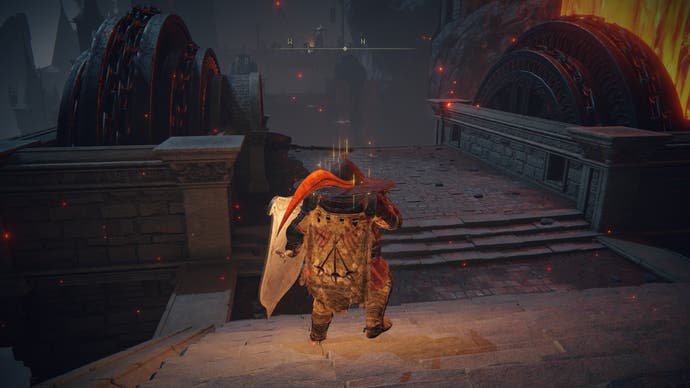
The Godskin Noble is a large boss who’s nonetheless quite nimble with his weapon of choice, a heavy thrusting sword, which is capable of quick combos, as well as charged heavy thrust with good reach.
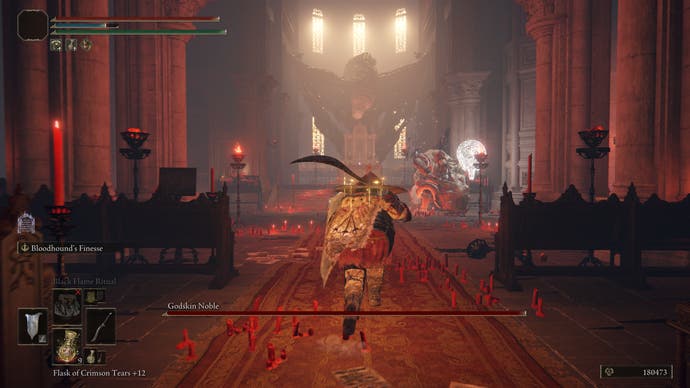
When you’ve taken half of his health bar, he’ll also resort to using his heavy build to either jump and squash you or roll around to trample you, though a good shield will be able to block these. You might want to make some space by destroying the temple benches by rolling into them, or also take advantage of the pillars to avoid his attacks.
Once you’ve defeated him, he’ll drop his weapon, the Godskin Stitcher, and at the altar you’ll also be able to pick up Serpent's Amnion, a key item for Rya’s questline.
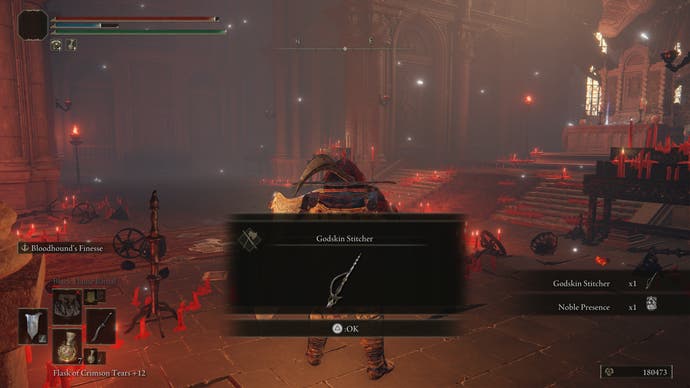
Just a word of caution that you won’t be done with Godskin Noble just yet as he is one of the Godskin duo you fight as part of the main story path in the late game. You’ll also be able to activate the Site of Grace for the temple.
More importantly, a lift to your right becomes available, allowing you to continue further in exploring Prison Town. Be aware that there aren’t any other checkpoints after this so if you die, you’ll return to Temple of Eiglay.
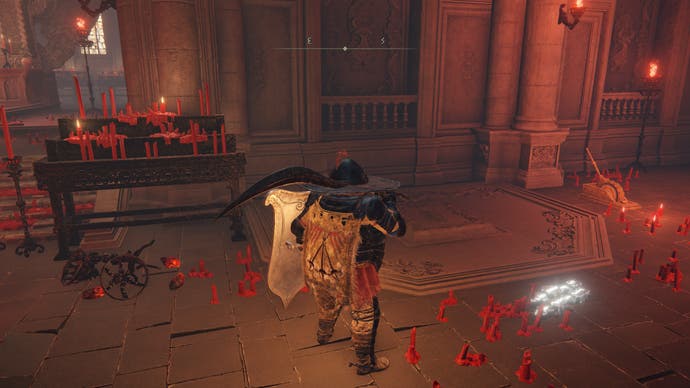
The lift takes you above the temple where you can wander around but where you want to go is a balcony outside the temple where you can drop down to a path on a lava bed.

Follow this path, killing any fire slugs in your way, and it will take you around and up to another lava lake, where a virgin abductor is also lurking around.
You’ll find that you’ll have no choice but to cross the lava to progress, though you’ll only receive chip damage anyway.

Head west towards an underpass, where you’ll find a doorway that takes you to the other side of the building with a ladder you can climb up. You’re almost there, except you’ll have to run a gauntlet of man-serpents.
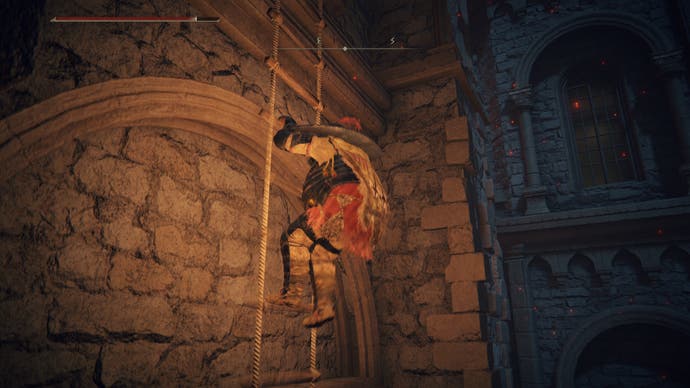
At the top of the ladder, turn left and follow this path, where you can either take on two man-serpents, one wielding a magma sword while the other has a magma whip, or run past them until you reach the end with a door you have to open up.
This takes you into an altar chamber with a few more man-serpent enemies but also in front of you are some weak prisoners who are kneeling down at an item you can pick up, the Man-Serpent Ashes.
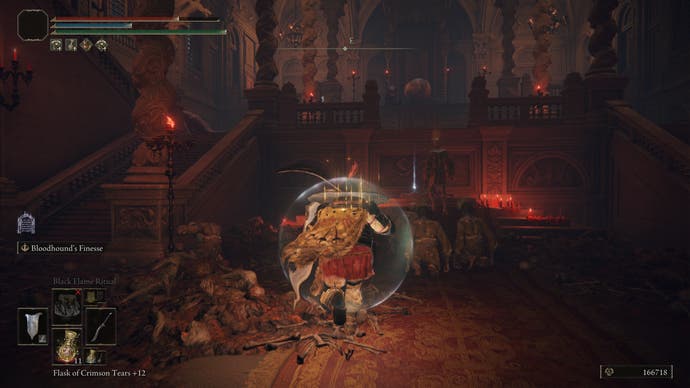
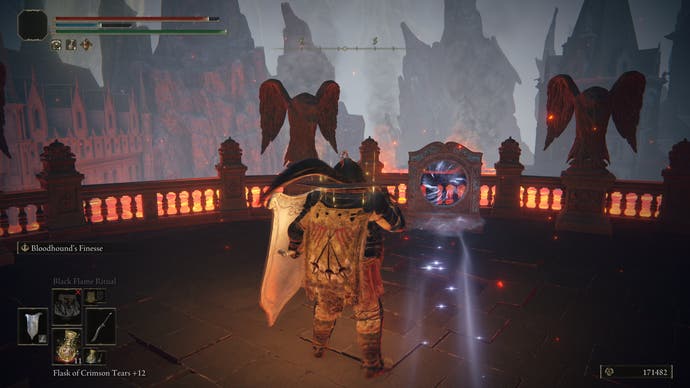
Continue up the stairs, past the altar and there’s a doorway to your left leading back out to an area with a portal. This portal will teleport you to Audience Pathway, the same area where you can meet Lord Rykard.
What to do after defeating Rykard
Once you have defeated Rykard, his Great Rune can be restored at the Divine Tower of West Altus. But first, there are still some loose ends to clear up at Volcano Manor. Speak to Tanith who acknowledges that her master has fallen.
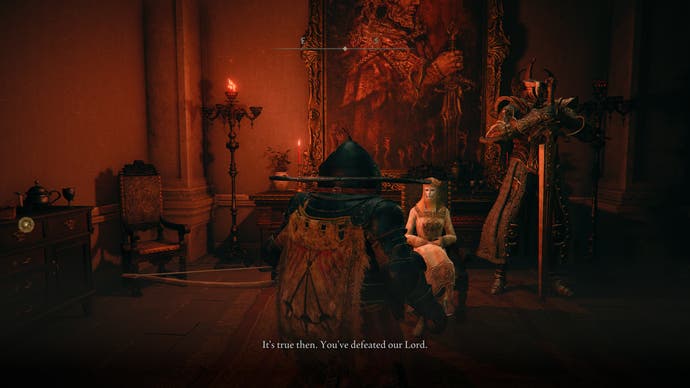
If you speak to her again after this she will say that she will soon be leaving the manor, and when you next reload into the area she and her knight will have disappeared, leaving behind the Tonic of Forgetfulness, a key item for Rya’s questline.
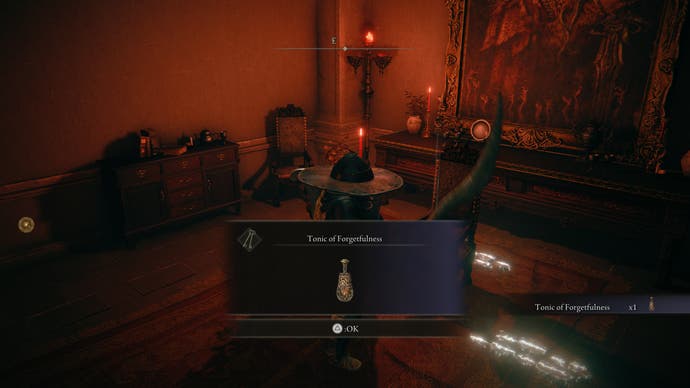
This also allows Patches’ quest to progress too so that you can get the Dancer’s Castanets from him at Shaded Castle.
As for where to find Tanith, if you return to the Site of Grace for Rykard, you’ll find that she is lying next to her fallen lord, eating him.
If you have the Dancer’s Castanets, you can give this to her and even though she doesn’t seem to accept it, the item will nonetheless vanish from your inventory, allowing you to progress to the final part of Patches’ quest.
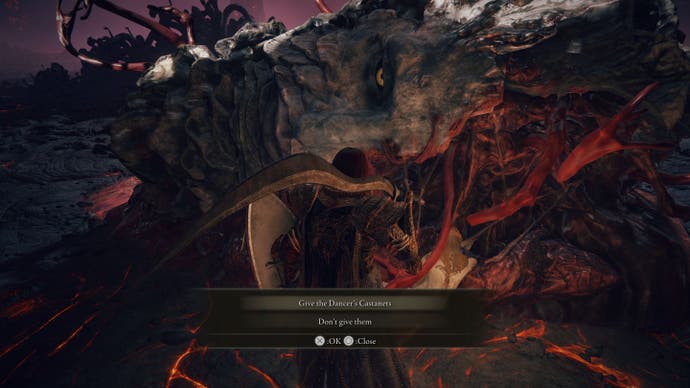
If you’re up for one more challenge, you can go ahead and kill Tanith, awakening the wrath of her crucible knight who suddenly appears to fight you.
As with other crucible knights, he hits pretty hard and can defend against your attacks with his shield, so you have to wait for an opening at the end of his attacks.
Take his HP down near half and he will also occasionally summon wings to take to the air for a dive attack, which you can dodge or run away from. The one extra thing he has up his sleeve is a fiery breath that spews from his neck.
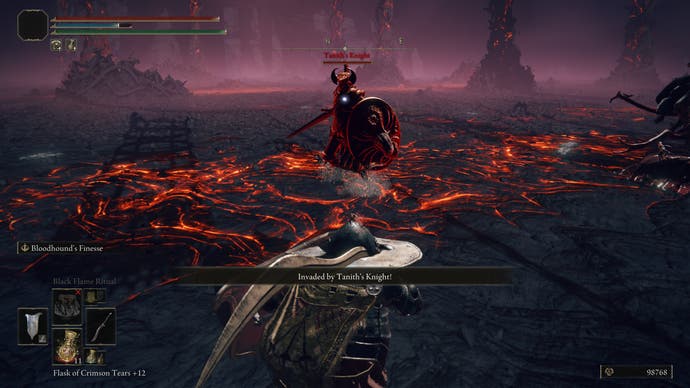
Defeat the knight and you’ll receive the Aspect of the Crucible incantation (i.e. the same fiery attack he was using on you) and you can also go back to Tanith to loot her Consort’s attire.
- Back to walkthrough: Elden Ring walkthrough
