Zelda Tears of the Kingdom Kiuyoyou Shrine solution
How to find and complete the Fire and Ice Shrine.
The Kiuyoyou Shrine in Zelda: Tears of the Kingdom will have you feeling hot and cold. No, really, the Shrine is all about using Fire and Ice to get where you need to go. Fortunately, Link doesn't need any special clothing to survive this Shrine, so don't worry about that.
Shrines in Zelda: Tears of the Kingdom test your problem-solving skills and they force you to use the many abilities you pick up on your adventures. This specific Shrine relies on you having the Ultrahand ability. If you don't have this, then head to the Ukouh Shrine first then come back.
When you have Ultrahand, we're here to show you how to complete the Kiuyoyou Shrine in Zelda: Tears of the Kingdom.
On this page:
If you'd like to learn more about Link's adventure, visit our Zelda: Tears of the Kingdom walkthrough.
Kiuyoyou Shrine location in Zelda Tears of the Kingdom
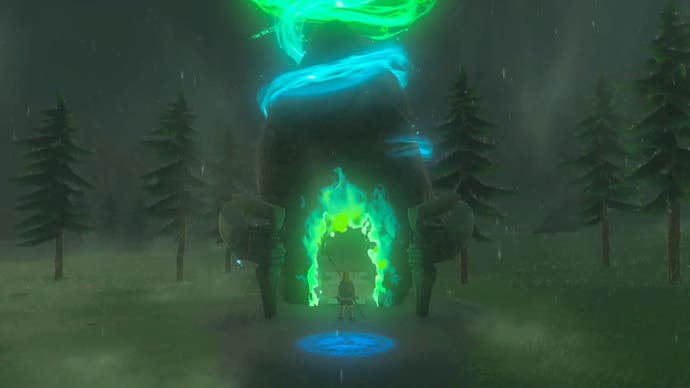
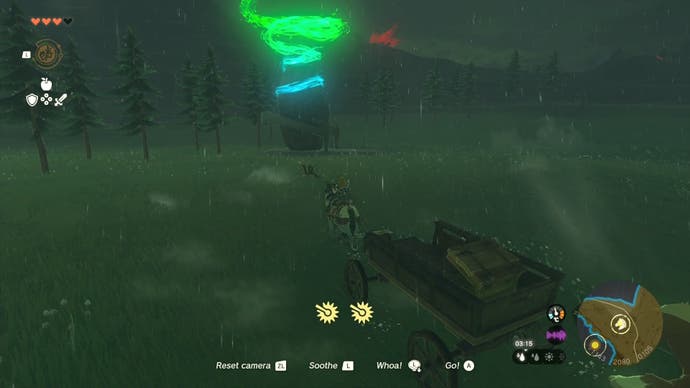
The Kiuyoyou Shrine in Zelda: Tears of the Kingdom is in the Great Hyrule Forest, just up the road from Juney and her horse, the character who asks you to pick up her toys. You'll see it glowing in the distance if you're following the main road.
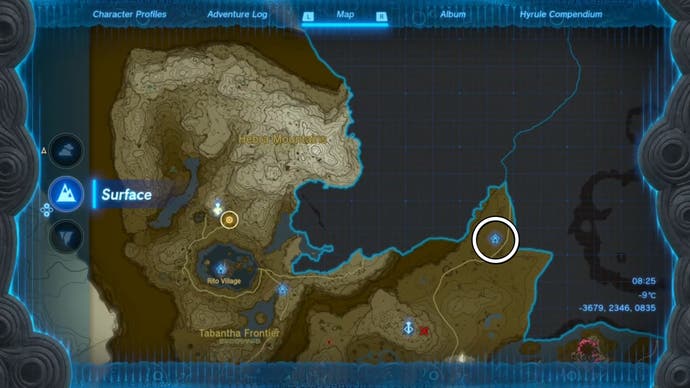
The shrine's precise coordinates are (-1106, 2086, 0104). We've also marked its location on the map below:
Kiuyoyou Shrine puzzle solution in Zelda Tears of the Kingdom
When you walk into the first area of the Shrine, you should see some tubes spitting out fire on your right. On your left, you should see a closed gate and a large ice cube sitting beneath a bigger tube.
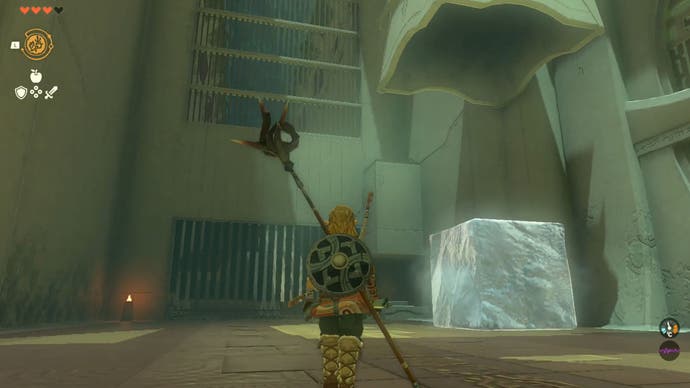
The first thing you need to do is use Ultrahand to grab the large ice cube and hold it in the fire from the tubes for a few seconds so that it shrinks (don't leave it in the fire for too long, it will melt). Once it has gotten a bit smaller, pull it out of the fire.
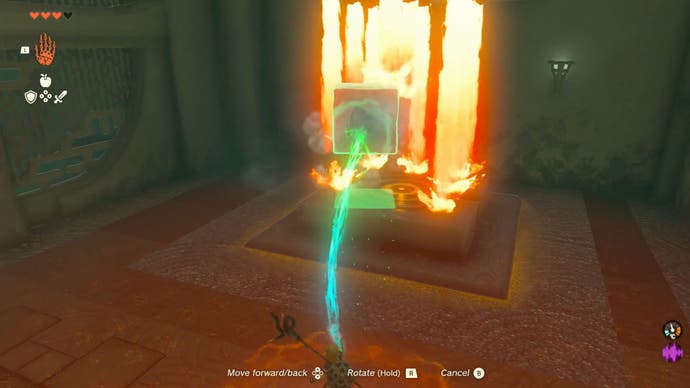
Turn around to face the large closed gate that's to the left of where you found the ice cube. When you're facing the gate, you should see a small pressure pad on the right-hand side.
Gently place the shrunken cube on this pressure pad to weigh it down. Once you do this, the large gate will remain open.
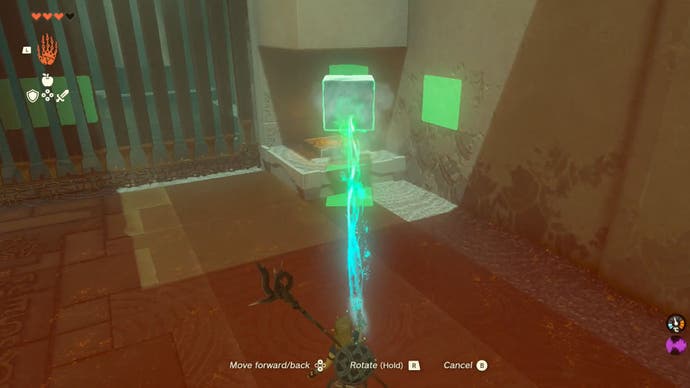
Head through into the newly revealed area. On your left, you should see a platform tucked into an opening in the wall. This platform will have a chest on it, but you can't get to it quite yet. Don't worry, we will come back to this.
On the right side of the room, you should notice an updraft. Use your Paraglider to ride the updraft up to the next area.
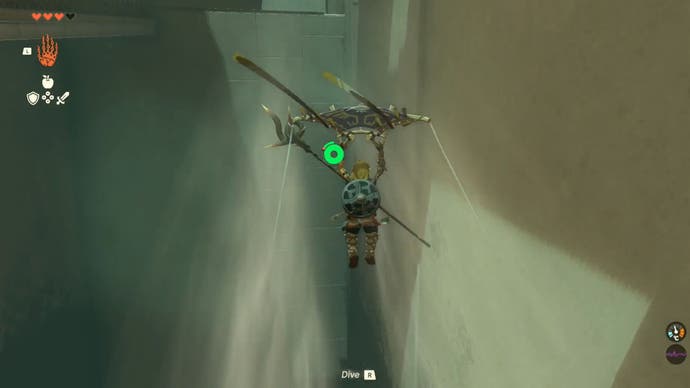
Up here, all the action is on the left. You should see some fire tubes coming out of the wall, and large cubes of ice being dropped directly into them.
Face where the cubes are being dropped down into the fire, and use Ultrahand to quickly grab one. It will shrink as you pull it out of the fire, but this is totally fine.
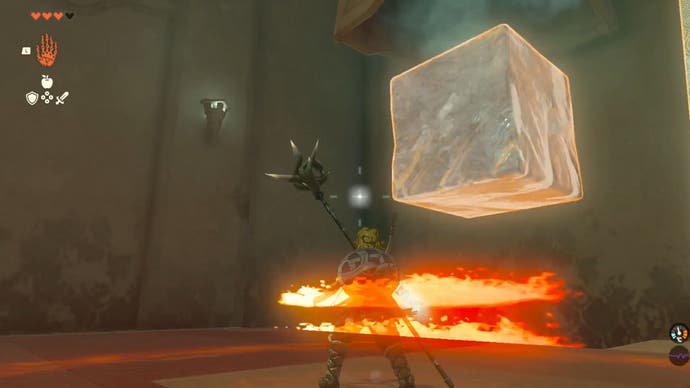
Then, carry the small cube over to the ramp made of spikes. If you're facing down to the area you previously came from, the spikes will be on your right. Then, gently place the small cube onto the ramp of spikes so that it slides down to the lower area.
Now, turn back around to face the fire tubes. When facing the fire tubes, look to the right where the updraft is hitting the wall. You should see a large stone panel resting against the wall here.
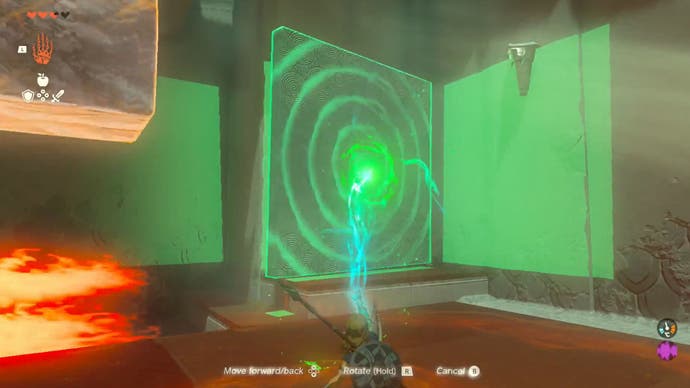
Pick this up with Ultrahand and carry it to the fire tube area. Rotate the panel until you can use it to block the flames coming out of the wall.
Then, once the flames are blocked, wait for the next big ice cube to be dropped. If you have a small cube left in this area, the bigger one may not spawn. If this is the case, grab the smaller cube and throw it over the edge into the abyss between the spike ramp and updraft. When it's gone, the bigger cube should be dropped.
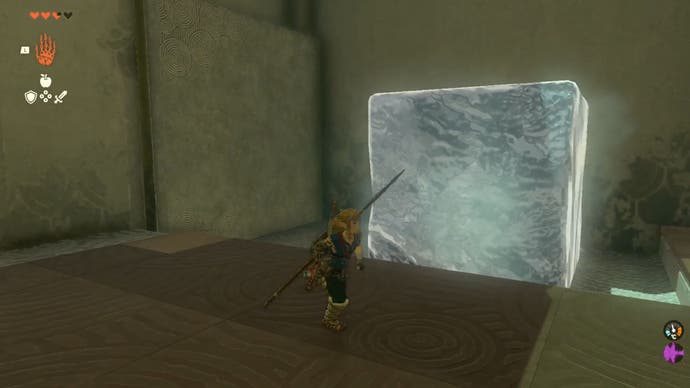
Then, when the cube has dropped, pick it up with Ultrahand and move it onto the platform where you are standing. Make sure it is well out of reach of the flames, as you then need to move the panel again using Ultrahand. Now, attach the big cube to the stone panel.
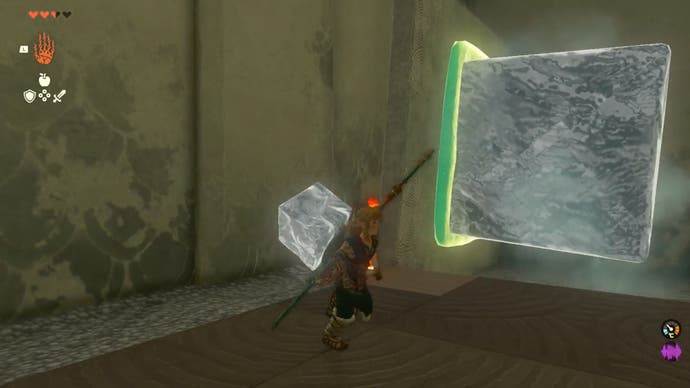
Then, pick up your stone cube contraption and rotate it so that the cube is underneath the stone slab. Once the cube is on the underside, gently drop the contraption onto the spike slope and watch it slide down to the lowered area.
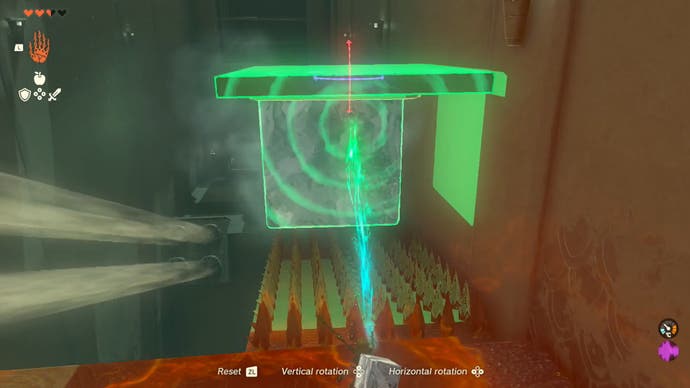
To safely follow it back down, head to the side that the updraft is on. Jump up into the updraft and equip your Paraglider. Let the updraft lift you up high, then glide back down to the lowered area where your contraption and smaller ice cube are waiting.
Now that you're here, take the big ice cube off of the panel for a moment. Do not get rid of the panel, you'll need this in a bit!
Remember the area in the wall here that has the chest in it? We said we'd come back to it! Once the cube has been seperated from the panel, place it on the floor against this area.
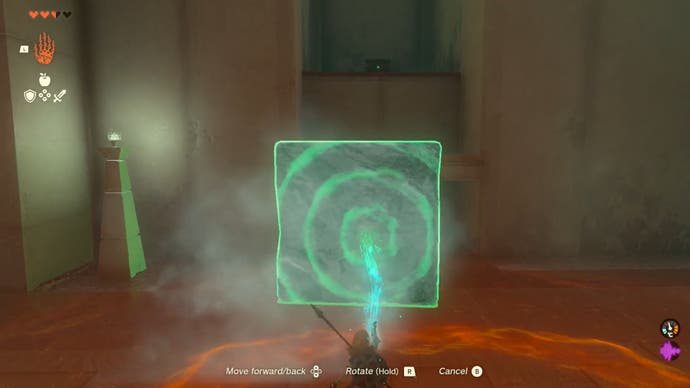
Then, grab your smaller ice cube from earlier and place it on the slightly raised platform that's below the chest.
Climb up the first cube, then up the second to reach the chest. This chest contains a Zonaite Spear.
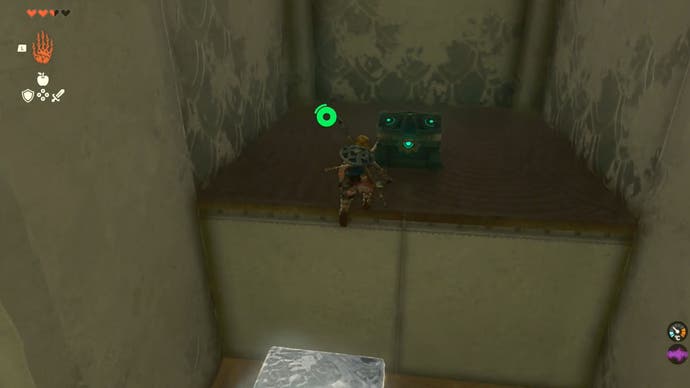
When you're finished up here, head back to your big ice cube and stone panel. Attach them both together again. Ideally, place the stone panel flat on the ground and attach the large ice cube to the top of this one.
Then, using Ultrahand, carry it back into the first room. Head back over to the section where flames are cascading from tubes in the roof. Rotate the stone cube contraption so that the stone panel is at the top, you're going to use this to block the flames from melting your cube.
With the stone panel at the top, place the contraption below the flames to weigh down the pressure pad here. You may have missed this earlier because the flames are quite good at concealing its presence.
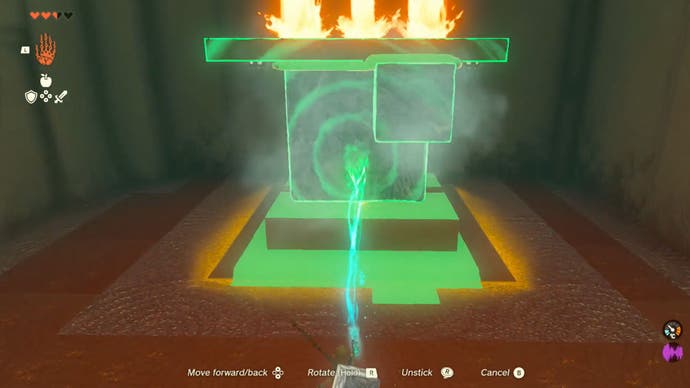
Once this pressure pad has been weighed down, a smaller gate will open to the left of the flame tubes. Head through here to grab your hard-earned Light of Blessing.
That's it for this Shrine! If you want help with Link's adventures in Hyrule, check out our Zelda: Tears of the Kingdom walkthrough.
