Zelda Tears of the Kingdom Ihen-a Shrine solution
How to find and solve the Midair Perch Shrine.
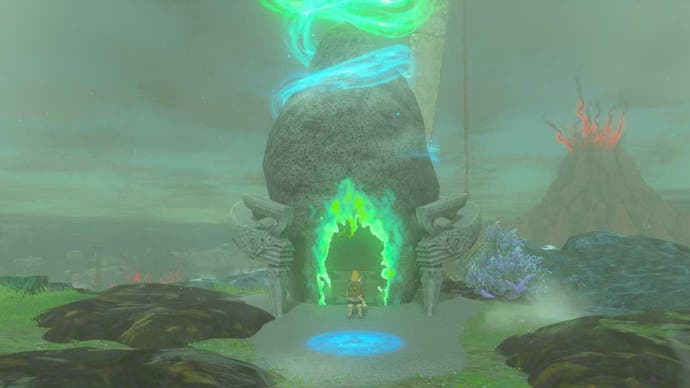
The Ihen-a Shrine in Zelda: Tears of the Kingdom can be found on Ploymus Mountain, but once you get here you'll be confronted with a problem, the door is covered in Sludge! Once you do find your way past this, you'll be greeted with a Shrine that lets you explore more of your creativity to solve small puzzles.
As with many Shrines in Zelda: Tears of the Kingdom, getting to the Ihen-a Shrine is a task in itself, but we've got a few tips and helpful route map to help you find the Ihen-a Shrine location.
Without further ado, we're going to show you how to solve the Ihen-a Shrine.
On this page:
If you'd like to learn more about Link's adventure, visit our Zelda: Tears of the Kingdom walkthrough.
Ihen-a Shrine location in Zelda Tears of the Kingdom
The Ihen-a Shrine in Zelda: Tears of the Kingdom can be found in Mipha Court at the top of Ploymus Mountain, west of Tal Tal Peak, east of Zora's Domain, and north of East Reservoir Lake. The shrine's precise coordinates are (3784, 0579, 0485).
We've also marked its exact location on the map below:
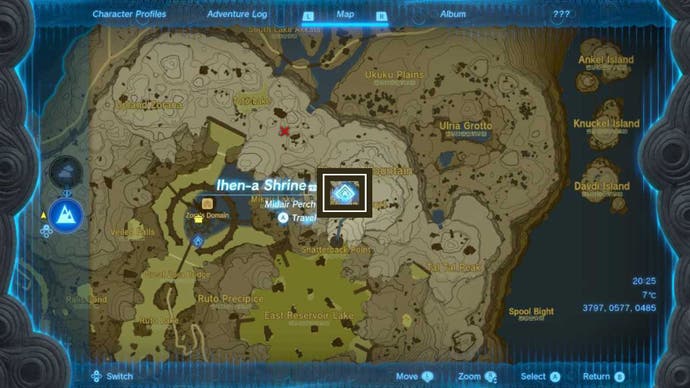
Getting up to Mipha Court can be tricky, as it's quite literally at the peak of Ploymus Mountain. We found, for us, that the easiest way of getting there was to begin at the Upland Zorana Skyview Tower. Then, we stayed as high as we could following the route marked on the map below:
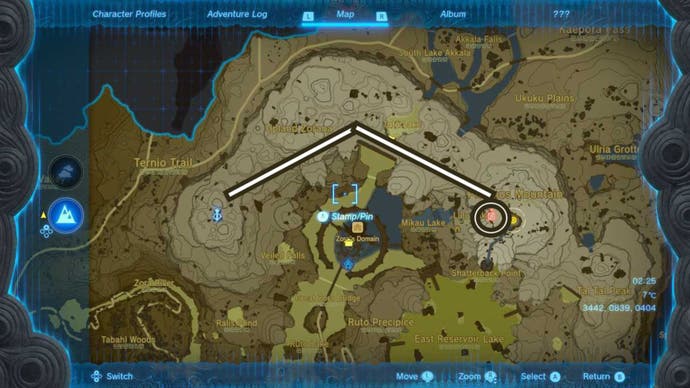
If you take the same route, you should see torches lining the path once you get closer to Mipha Court.
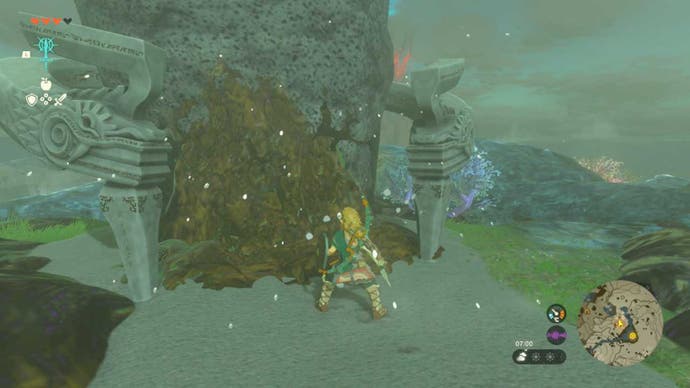
Now, once you get there, you'll find that the Ihen-a Shrine entrance is covered in sludge. To clear this, we attached a Splash Fruit to an Arrow and shot it at the entrance to wash the goo away. Then, we entered as normal.
Ihen-a Shrine puzzle solution in Zelda Tears of the Kingdom
To solve the Ihen-a Shrine puzzle in Zelda: Tears of the Kingdom, you need to manipulate several floating platforms to create bridges and steps to get where you need to go.
When you first walk into the Shrine, you will see a couple of floating platforms. The quick way of solving this first bit is to use Ultrahand to move one of the floating platforms so that it hovers in the air near the raised section at the rear of this area. Then, stand under the platform and use Ascend to get on top of it and simply hop over to the beginning of the next area.
However, if you feel like getting in more building time, you can do what we did and use Ultrahand to make a set of steps.
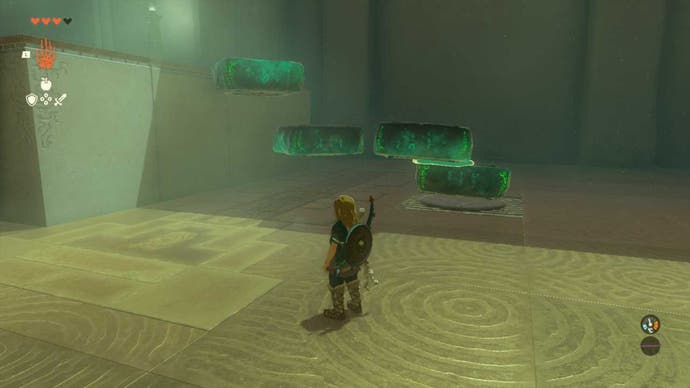
Once you are in the next area, follow the path around until you see a single platform in the middle of the floor. Hit this to power it up and then look to your right. Grab the metal panel here and attach it to the top of the floating platform so that it's flat. Then, move your creation out into the gap between where you're standing and the other side.
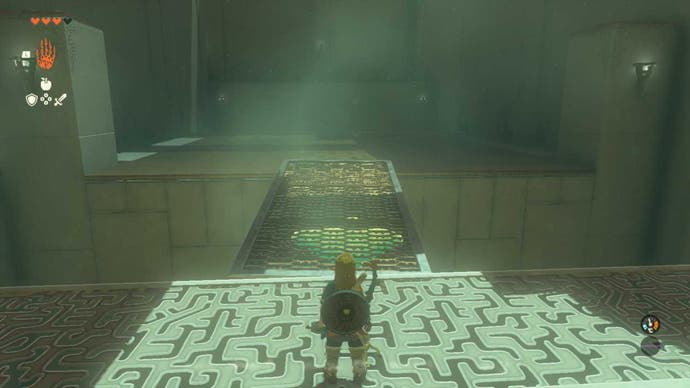
This will make a bridge, and all you need to do is jump onto it to cross to the other side. Once you are on the other side, there are again a few options you can choose from for getting up to the next section.
You can grab your creation from earlier and lift it above the second gap that should now be opposite you, while making sure part of it is hovering over you. Then, you can use Ascend to get on top of it and Glide to the raised area.
Alternatively, you can pick your creation up using Ultrahand and then move it to the gap between you and the raised area. Then, rotate the creation so that it slants and becomes a ramp. You can then run up this ramp and jump to the next area.
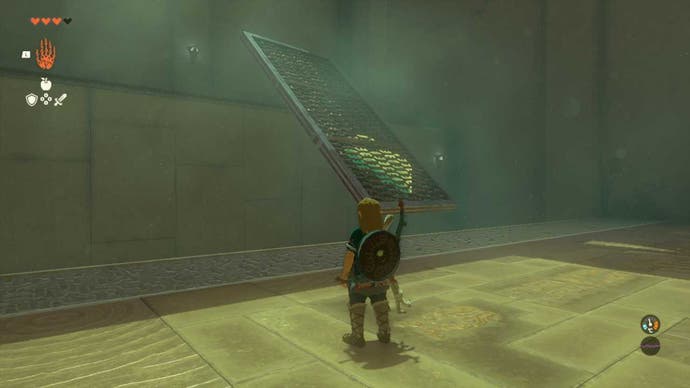
Once up here, follow the path to the next area. You should see a few more floating platforms in here. Walk further into the room and then face left, towards the locked gate that is across from you and on the other side of a huge gap.
Then, look up and to your left. You should see a ledge up here with a chest on it. The easiest way to get to this is to move one of the floating platforms using Ultrahand so that it floats next to ledge. Then, simply use Ascend to get up onto the top of the platform and hop across to open the chest. The chest contains five Arrows.
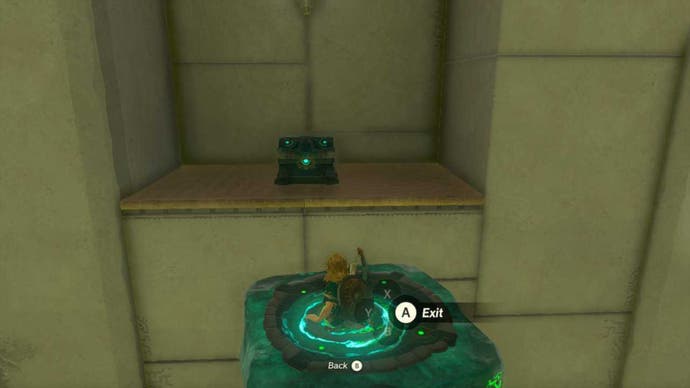
Once you are ready, gently glide back down. Now, you need to stick three of the floating platforms together in a straight line and insert them into the little gap in front of the large golden square beside the ball in the middle of the room.
Then, pick up the ball and place it in the center platform on your creation. Make sure it's in the middle of the platform itself, or it may fall off when the platforms move.
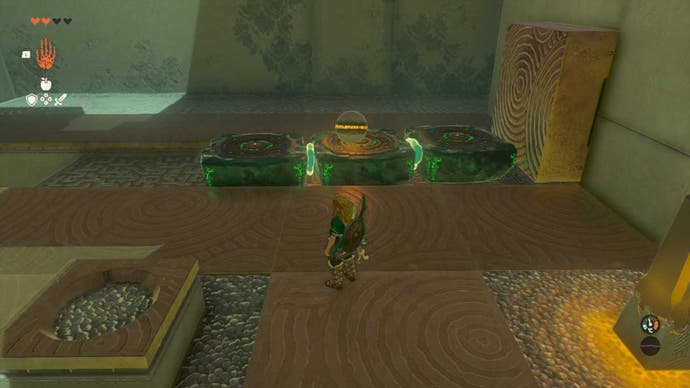
When you're happy with the placement of the ball, whack the golden structure next to where you placed the platforms and watch them launch across the gap. They should take the ball with them.
Now, it's your turn to get across the gap. Place the fourth platform in this area in the same place you previously put the trio in. Then, stand on top of the platform and turn to face the golden structure. Shoot this with an Arrow and you will be propelled across the gap.
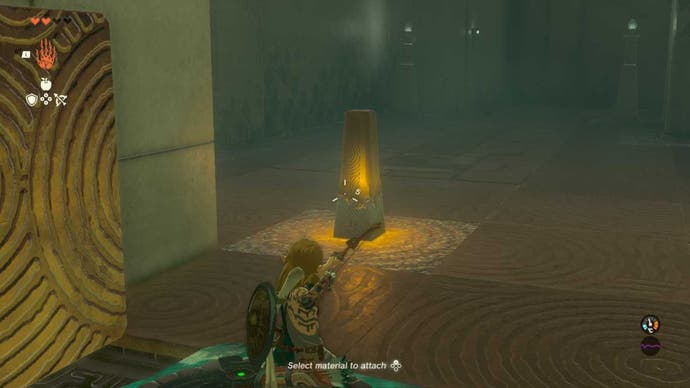
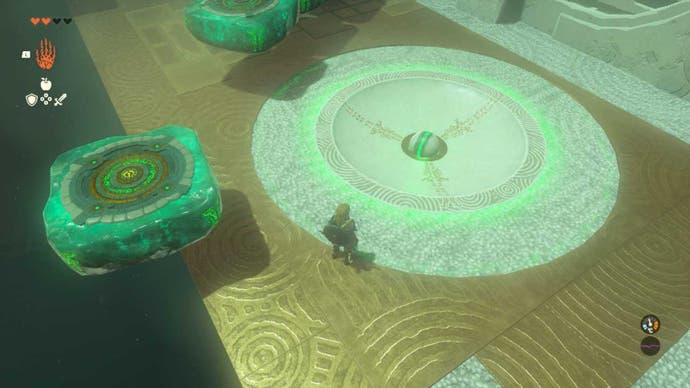
Once here, if the ball hasn't already fallen into the circle on the ground, then pick it up and move it here. When the ball is in the pit, the gate to the Light of Blessing will open.
That's it for the Ihen-a Shrine. If you need more help on your adventure across Hyrule in Zelda: Tears of the Kingdom, check out our guide that shows you how to increase weapon durability and our one that shows you how to get the Golden Horse!
