Hi-Fi Rush Graffiti Locations, how to find all Graffiti pieces on every Track
Collecting graffiti gives you an interesting reward...
Finding all the Graffiti pieces in Hi-Fi RUSH can test your patience, especially on your first run through the story. Some will be tantalisingly close but just out of your reach and some will be easy to miss if you're not looking at every little part of each Track.
There are 24 graffiti pieces to collect in Hi-Fi RUSH, and once you collect all of them there will be a cool little surprise waiting for you in your hideout.
Without further ado, we're going to show you all of the Hi-Fi RUSH Graffiti Locations and how to collect all of them in every track.
On this Page:
- Hi-Fi Rush Graffiti Locations explained
- How to check your Graffiti in Hi-Fi RUSH
- Track One Graffiti Locations
- Track Two Graffiti Locations
- Track Three Graffiti Locations
- Track Four Graffiti Locations
- Track Five Graffiti Locations
- Track Six Graffiti Locations
- Track Seven Graffiti Locations
- Track Eight Graffiti Locations
- Track Nine Graffiti Locations
- Track Ten Graffiti Locations
Hi-Fi Rush Graffiti Locations explained
We recommend that you complete the game before you start hunting for Graffiti across the Tracks. You may find some as you naturally progress through the tracks, but most of them are tucked away behind areas that can only be accessed once you’ve completed the main story.
In each section, we've let you know which ones will need to be collected after. Once you collect all of the pieces, the Artist will leave a unique graffiti piece on the floor by the couch in the hideout, much to Chai's annoyance.
There are story spoilers ahead, which is also why we strongly advise finishing the story before reading our guide.
How to check your Graffiti in Hi-Fi RUSH
When you are in your hideout with the rest of your team between Tracks, you can see how many pieces of graffiti you have collected so far. This is by far the best way of checking which pieces you still need to collect to figure out which stages to head back to.
To check your graffiti pieces, head to the wall to the left of Peppermint's desk in the hideout. It looks like a generic noticeboard and this, if you have found any, will have Polaroids of your graffiti finds on it.
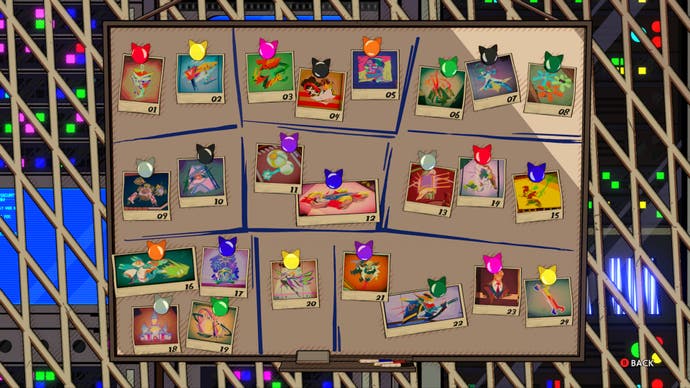
The board is sectioned into each Track, so you can easily see which pieces are left to find.
Hi-Fi RUSH Track One Graffiti Locations
There are two sets of Graffiti for you to find in Track One, but you can only access them both after completing the main story.
Graffiti One
When you leave the room filled with conveyor belts and crushers, follow the path around until you come to the switch that activates the moving platform. Ride the moving platform and then, when you jump off of it, stop.
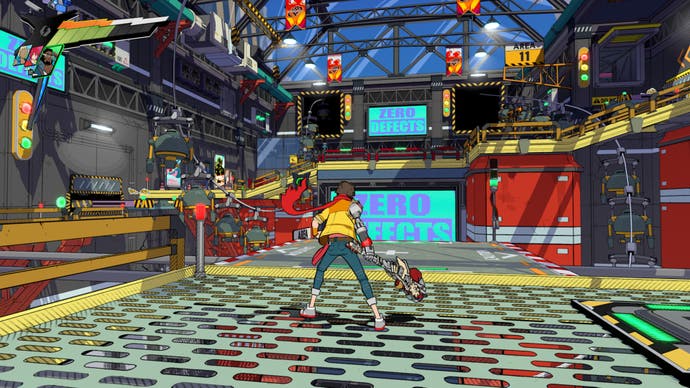
Follow the path around to your left and you should see a door protected by Z-Shielding. Call in Macaron to break it and head inside.
Then, follow the path around until you reach a generator. You now need to call in Korsica to overheat the generator. Once she has done this, quickly make your way across the platforms until you reach the large yellow ledge in the centre of the room.
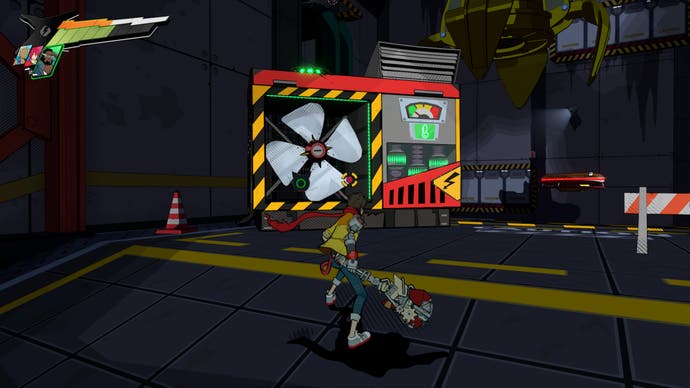
This platform will have two arrows on it. Follow the arrow that is pointing to the right and jump onto the platforms across from you. You still need to be speedy, these are part of Korsica’s countdown.
Follow the platforms and then you need to jump across to a solid ledge. Once you are on the ledge, look to your left. The graffiti is on the wall in the shadows.
Graffiti Two
After you face and defeat a large group of robots, you’ll face a door labelled ‘QA Testing’. Head through here but do not go through the next set of doors labelled 'QA Check'.
Instead, face the next set of doors and look to the left of them. There will be a small ledge with a few batteries on it. Jump up onto this ledge and then jump up onto the next one that is on your left, only slightly higher.
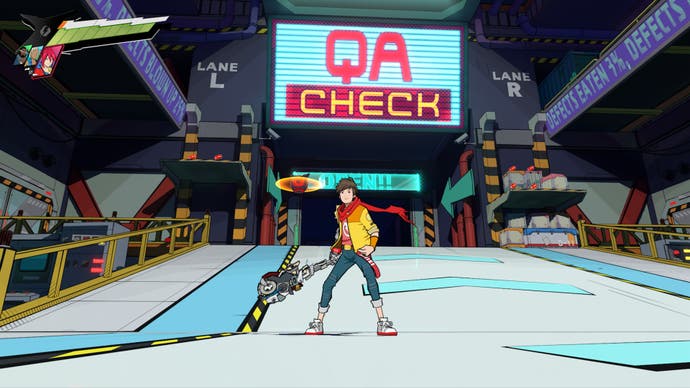
Here, you’ll see a doorway covered in flames. You need to call in Korsica to extinguish the flames. Once she does, head through quickly before they return.
Once you are in the room, look to your right and you should see arrows painted on the wall. Climb up the boxes below the arrow but stop at the top of the boxes.
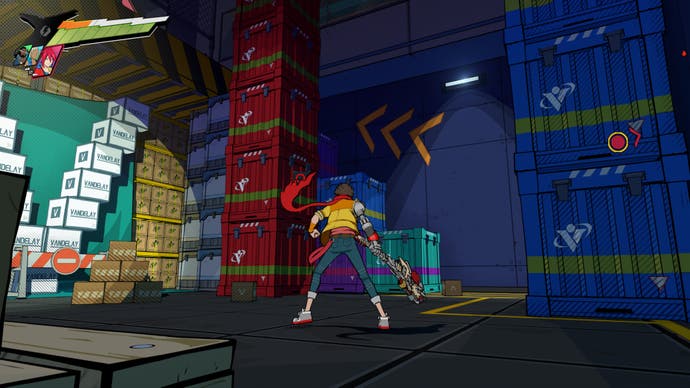
At the top, turn around to face the stack of boxes in the centre of the room.
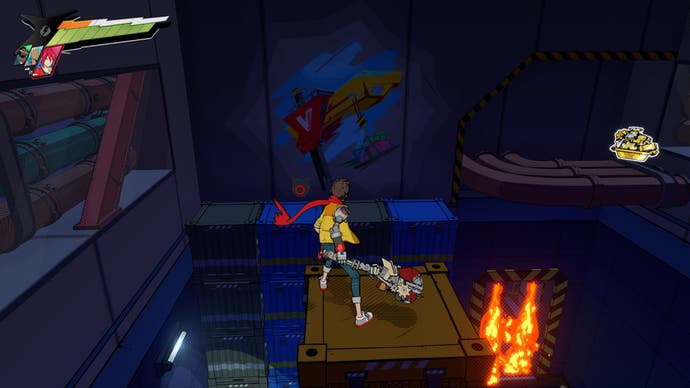
Jump across to this stack of boxes and then you should be able to see the graffiti on the wall opposite you. All you need to do is jump to the platform below the graffiti and interact with it to collect it.
Hi-Fi RUSH Track Two Graffiti Locations
There are three pieces for you to collect in this track, but you can only access the first piece after finishing the story.
Graffiti One
After fighting the orange robot after learning to use your grapple ability, keep following the path around to your right. You should see some medical boxes and a new ability to collect.
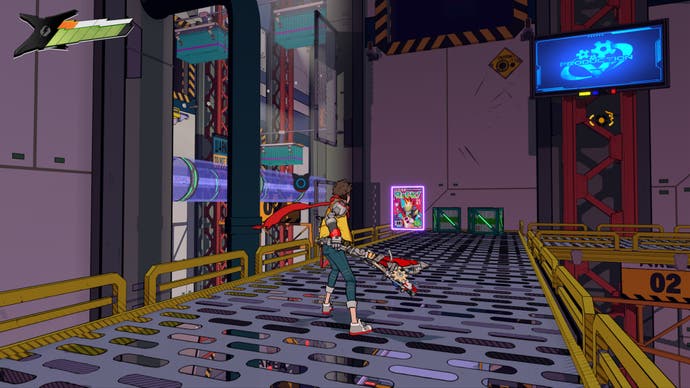
Walk to the end of this pathway but stop at the medical boxes and look to your right. Then look up, and use your grapple to pull yourself up to the high room.
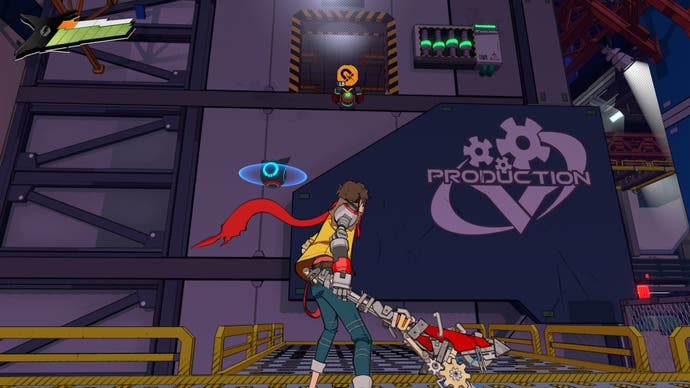
In the room, walk to the back and then look right. There’s another fire door here so, again, call in Korsica to clear it for you.
Once it is clear, head through the doorway and look to your left. Then, keep walking to your left and drop down onto the set of large pipes. Follow these pipes to your right and they will lead you to another room.
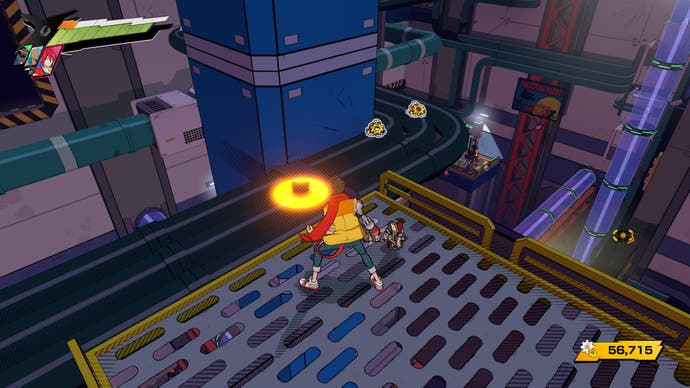
Jump into the room and then walk to your left. The graffiti will be on the wall in front of you.
Graffiti Two
After jumping up three hovering platforms, you’ll enter a room that has a Smidge in it (the hint robot) and a blocked doorway to the left.
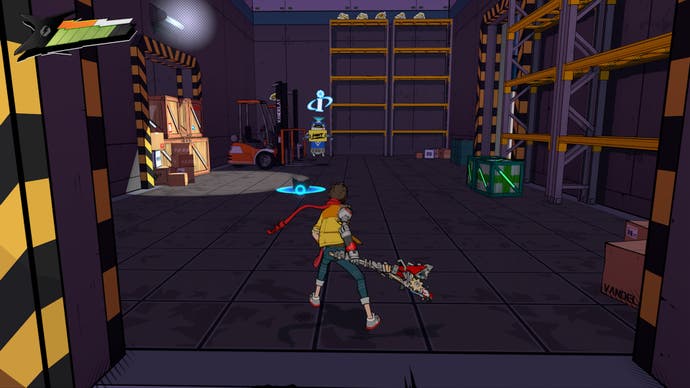
Smash through the boxes and climb the containers to the left until you reach a ledge. The graffiti will be on the wall right in front of you.
Graffiti Three
When you are near Rekka’s office and drop down into the waiting area, follow the coloured tiles on the floor around to the right. This should take you past some diligent cleaning robots.
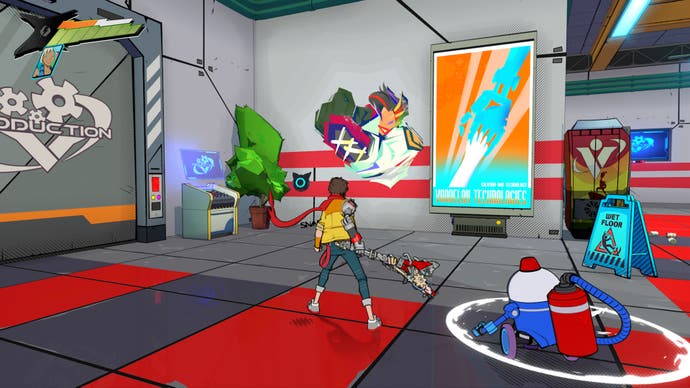
Stop in front of the locked double doors and look to your right to find the graffiti on the wall.
Hi-Fi RUSH Track Three Graffiti Locations
There are three pieces of graffiti to collect in this track, but you will need to have completed the story to collect the first one.
Graffiti One
After you fight the motorbike robot for the first time, follow the path around and drop down into the next area.
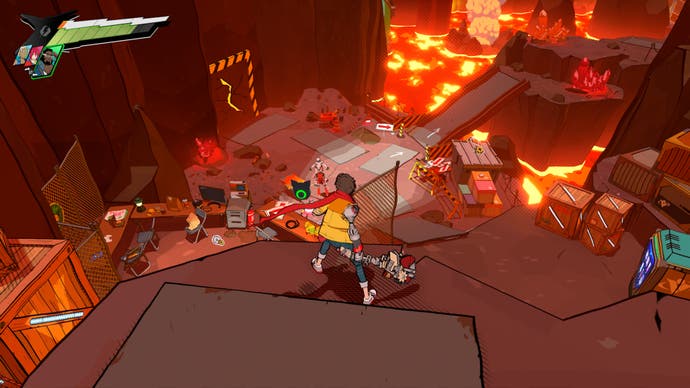
Next to the two arguing robots will be a wall protected by Z-Shielding. Call in Macaron to break the door down.
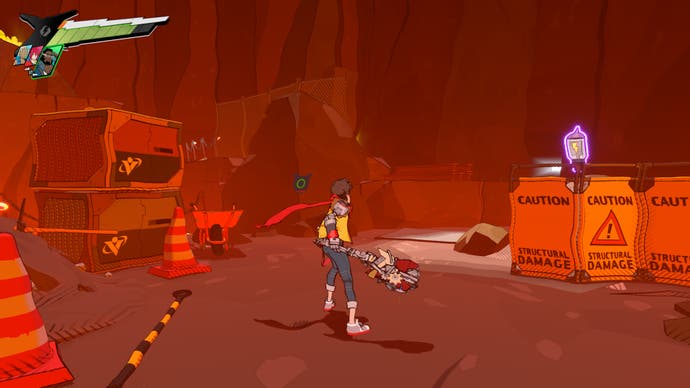
Once you’re through, follow the rocks around until you get to the top (they make quite a convenient set of steps). When you’re near the top keep your eyes on the ground, the graffiti will be on the floor just before you leave this area.
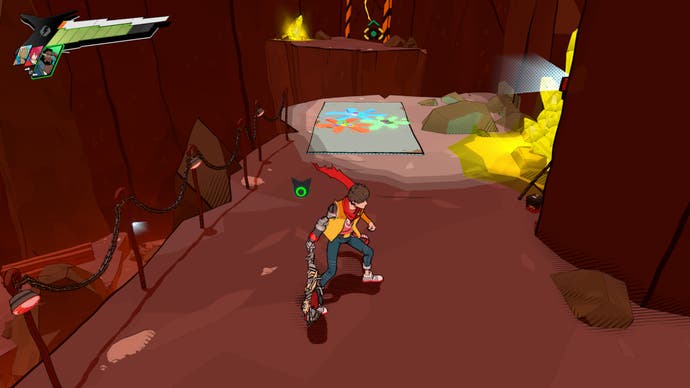
Graffiti Two
When you come up to the R&D Department doors, stop and do not go in them. Instead, face them and look to your right. You should see a golden statue of Kale.
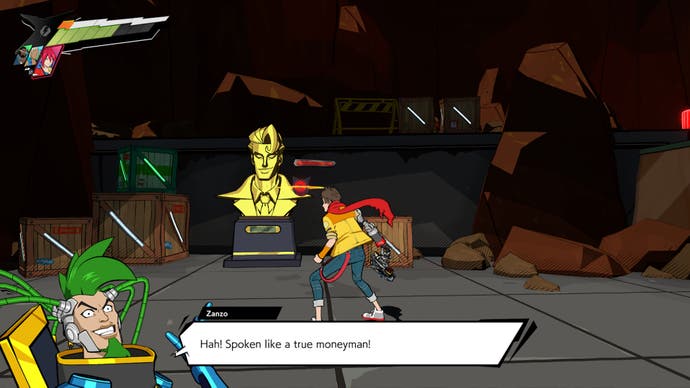
Head over to this statue and jump up to the ledge behind it. Follow the path around and the graffiti should appear on the wall to your left.
Graffiti Three
After you survive Zanzo’s second testing room, the ‘hacker’ will tell you to use a side route. When you follow this route, you will need to press a button to open the vent. Once you do this, hop through the vent but immediately stop.
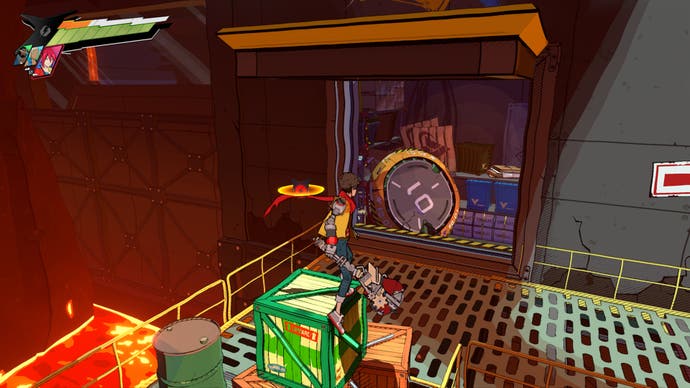
You should see some boxes in front of you. Jump onto them and then turn around to face the vent you just came through. Hop over to stand on top of the vent and the graffiti will be on the wall in front of you.
Hi-Fi Rush Track Four Graffiti Locations
There are two pieces for you to collect on this track, and you can pick them up your first time in the story or after you complete it.
Graffiti One
After you enter the AR Labs, you’ll come across a room with a large lava tube in the middle of it. Walk around the lava tube to get behind it, and you should see a robot standing there working on a computer
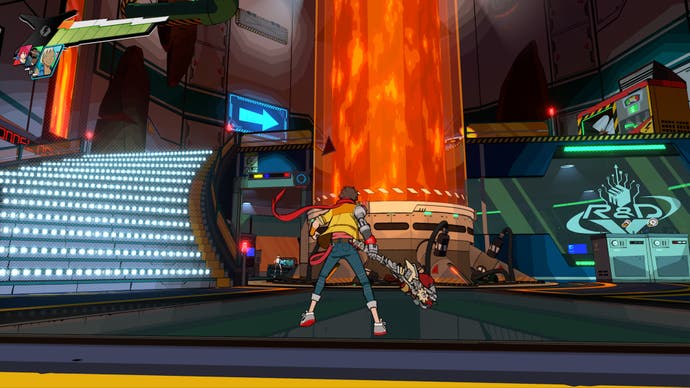
Stand next to this robot, facing the same way they’re facing, and look to your left. The graffiti will be on a wall that is hidden behind some boxes.
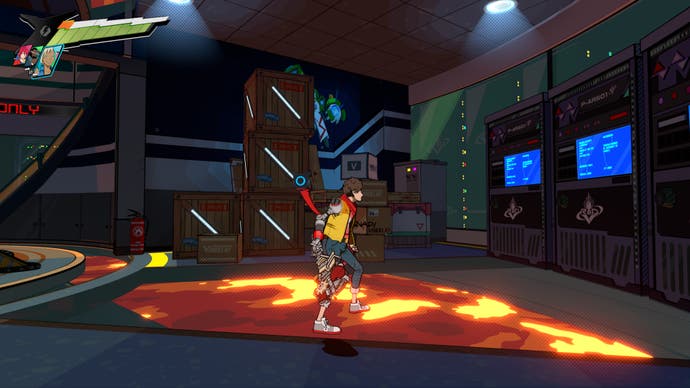
Graffiti Two
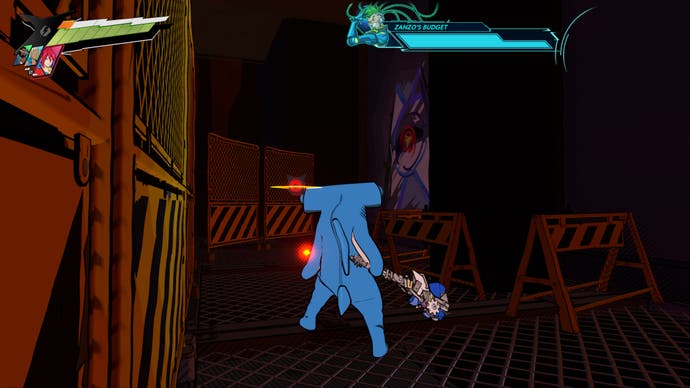
After escaping the AR Room, you’ll use a platform raised by lava to get to a raised walkway. Follow the path of this walkway until you reach some signs telling you to go right.
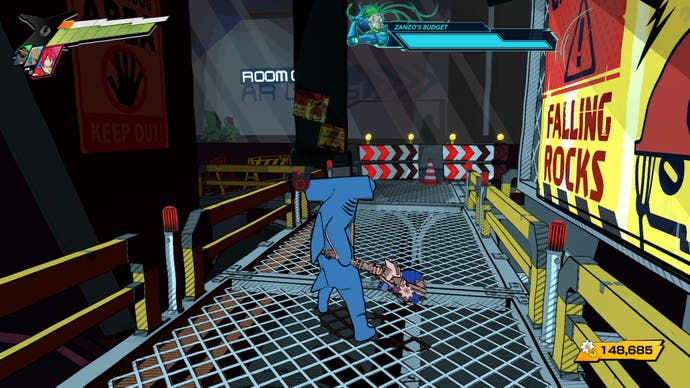
Ignore those, and head to the left into the shadowy part of the walkway. Continue to follow this path until you come to the graffiti on the wall at the end of it.
Hi-Fi RUSH Track Five Graffiti Locations
Now, if you look at the board in the hideout you may notice that there are meant to be two sets of graffiti in this track. However, the first piece is indeed in this track, but the second piece is actually part of Track Six.
Graffiti Piece One
When you come to the first large area where you’re asked to fix the security nodes, stop and look to your right. You should see a checkpoint station where you can call in to get upgrades for Chai and the others.
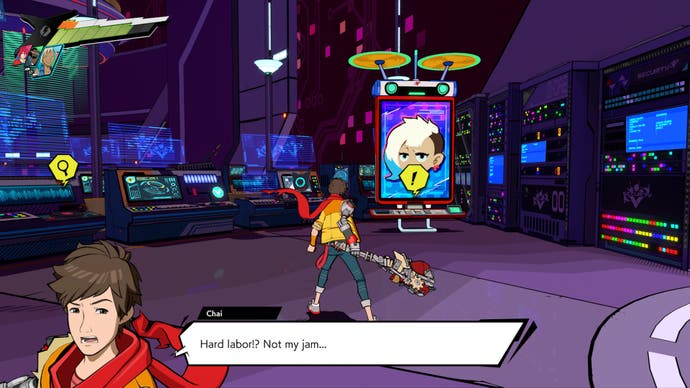
Head behind this checkpoint station and look down. You should see a platform that is just slightly below the one you are standing on. Double jump and dash to make your way over to it.
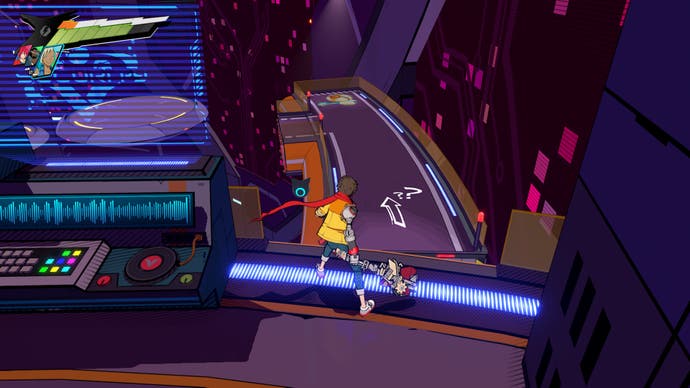
The graffiti will be on the floor at the end of this platform.
Hi-Fi RUSH Track Six Graffiti Locations
There is only one piece to find on this Track.
Graffiti One
Head through the first set of doors and follow the path, but stop when you see a checkpoint station in front of you.
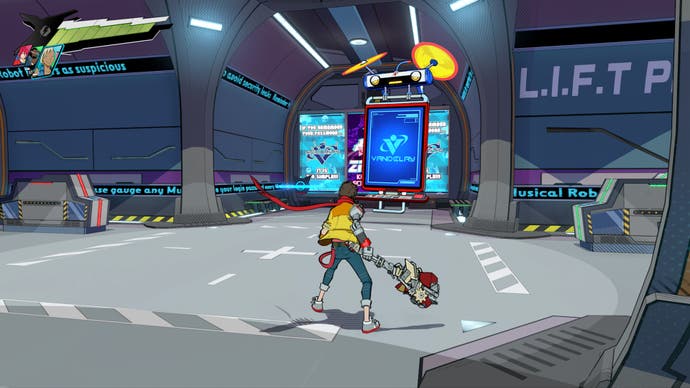
Face the checkpoint screen and then look to your left. Head over to the locked doors and look down, the graffiti will be on the floor.
Hi-Fi RUSH Track Seven Graffiti Locations
There are a total of three pieces of graffiti for you to find in Track Seven! However, you will need to finish the story to reach the first piece.
Graffiti One
When you’re in the tall room with a lot of lasers, follow the intended path until you come to a ledge that looks like this:
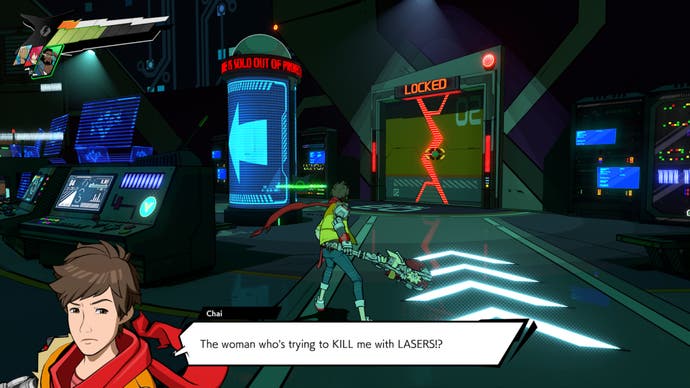
Use Macaron to break through the door on the right and then head through into the next room. Stop as soon as you get in here and look to your right. You should see a raised ledge up here.
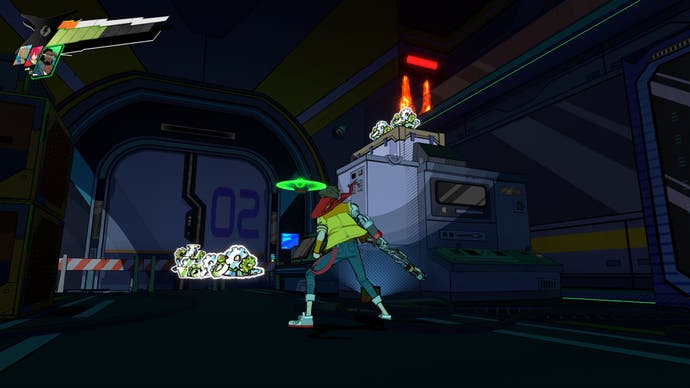
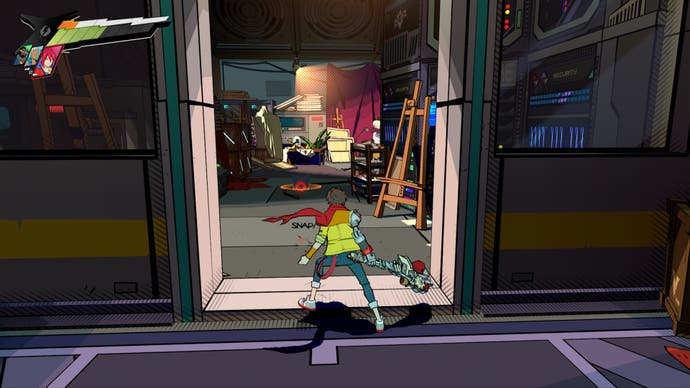
Climb up the boxes and then jump onto this raised platform. Then, head to the flame door and use Korsica to clear it for you. Run through it and follow the path around. This will lead you to a secret room and the graffiti will be on a canvas behind someone we highly recommend talking to.
Graffiti Two
After you make your way up and are facing the centre column again as shown in the image below:
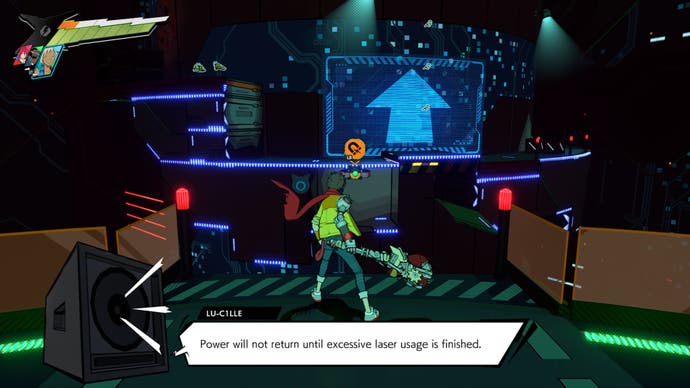
Grapple over to the centre column and walk along the path to the left. Jump up and look at the wall of the column, you should see the graffiti on the wall above some boxes.
Graffiti Three
After you’ve fixed the jammed laser that’s in your way, keep following the path around and up until you use the x4 jump pad. When you exit the jump pad, head around the outside of it and the graffiti can be found on the floor behind it.
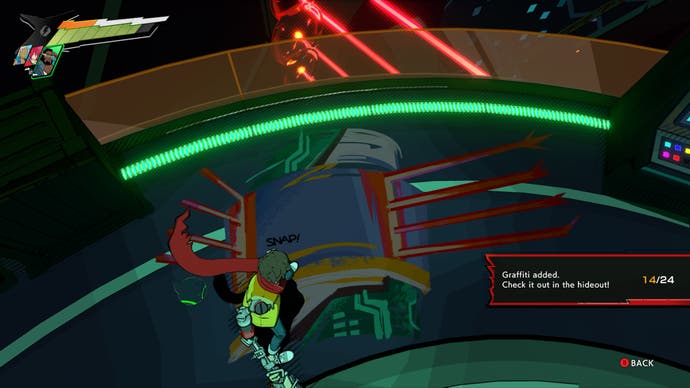
Hi-Fi RUSH Track Eight Graffiti Locations
There are a total of four pieces for you to find in this track.
Graffiti One
Follow the path through the large open festival area until you reach the large golden Vandelay gates that are being polished by a robot.
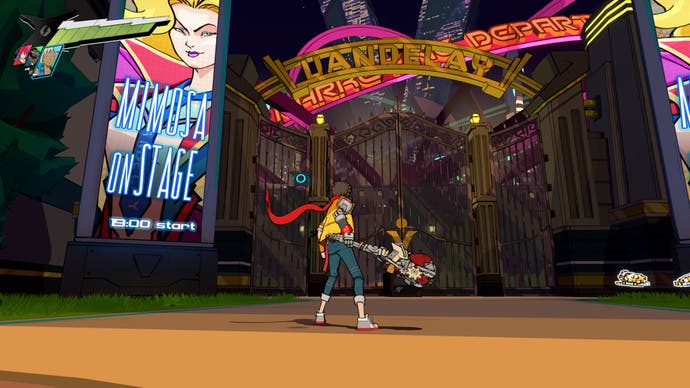
While facing the gates, turn to your left. The graffiti is on the wall in the corner, it’s slightly hidden by the trees but once you walk between them you should see it.
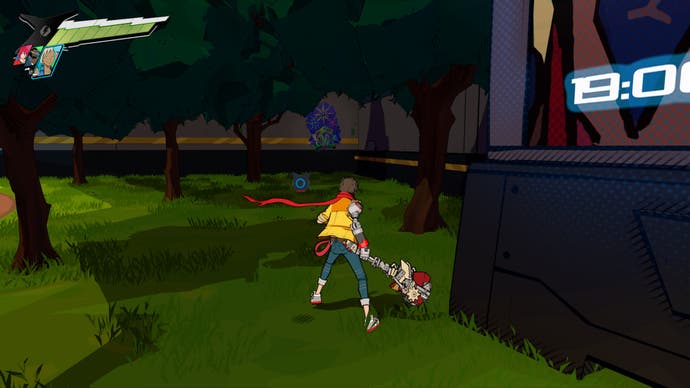
Graffiti Two
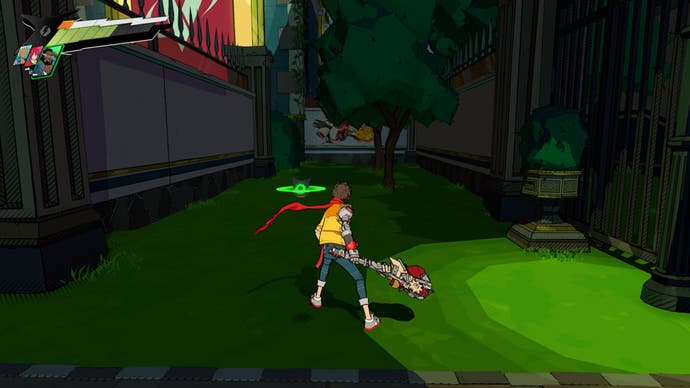
After you fight the robots outside the Vandelay Museum, face the Museum and then look to your right.
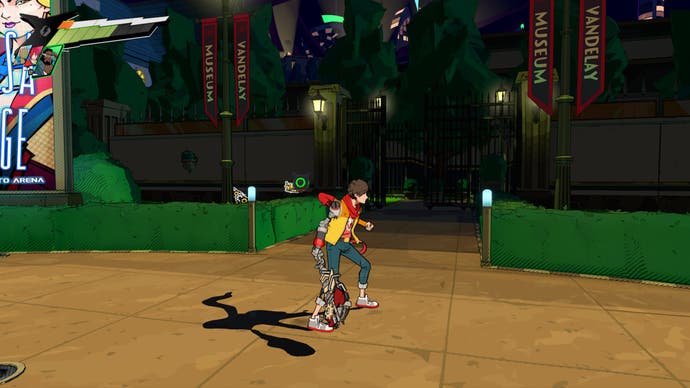
You should see an open gate, head through it and then stop again. This time, turn to your left and follow the path among the trees. The graffiti should be on the wall at the far end of this path.
Graffiti Three
After Mimosa catches you in the Museum, you’ll come across a Z-Shielding door. Once you get Macaron to break it, head through it and stop instantly.
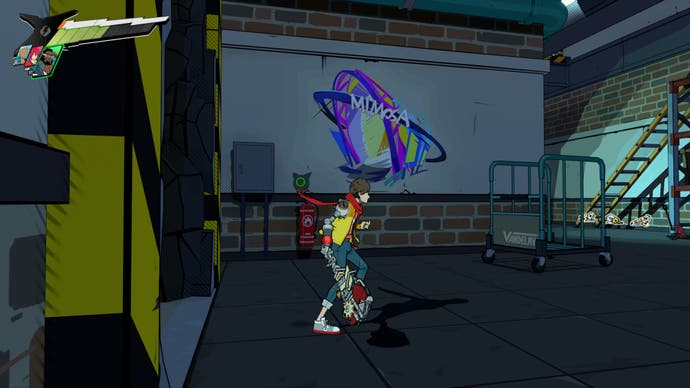
The graffiti will be on your left as soon as you enter this room, so make sure not to rush ahead!
Graffiti Four
Once you’ve made your way through the Museum, you’ll battle quite a lot of robots on a very unstable platform.
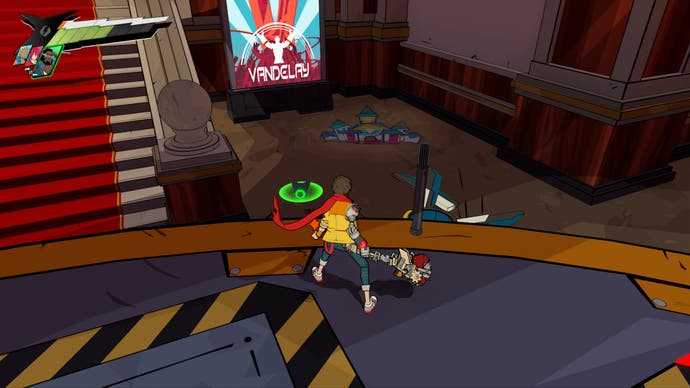
After this platform collapses and you’ve beaten the robots, you need to face the doorway. Then, while facing the doorway, look at the Vandelay screen on the right.
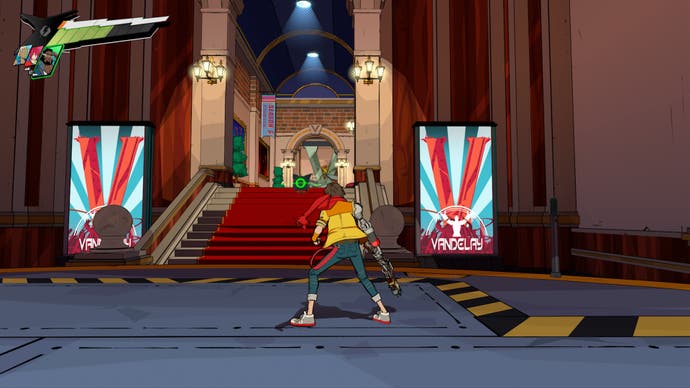
Jump down near this screen and you’ll find the graffiti on the floor.
Hi-Fi RUSH Track Nine Graffiti Locations
Track Nine only has one piece of graffiti for you to find.
Graffiti One
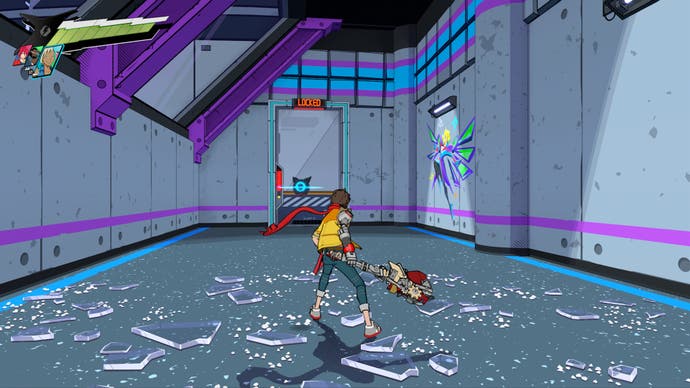
As soon as you crash into this level, turn around and face the locked doors behind you. Then look to your right and the graffiti will be painted on the wall.
Hi-Fi RUSH Track Ten Graffiti Locations
This is the final set of graffiti for you to find and there are a total of four pieces.
Graffiti One
After you fight the robots in the cafeteria, you’ll come across a Smidge (the hint bot) jamming a doorway open. Head through this door and follow the path around until you can’t go any further.
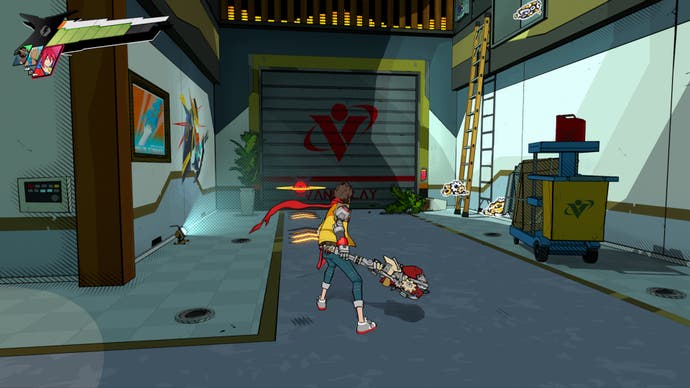
There will be a ladder on your right leading up to a vent. On the left wall, directly opposite the ladder, is where you’ll find your first piece of graffiti for this track.
Graffiti Two
The next piece can be found when you enter the Atrium (the room with the massive Kale statue in it).
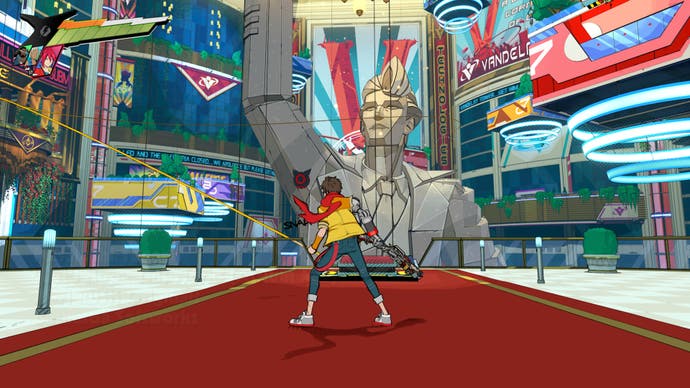
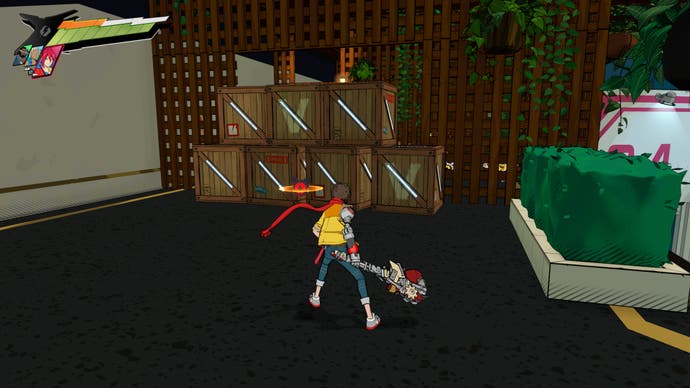
When you enter this room, stop and look to your right. You should see some small circular platforms sticking out of the wall. Climb up these and follow the path around until you reach a stack of boxes.
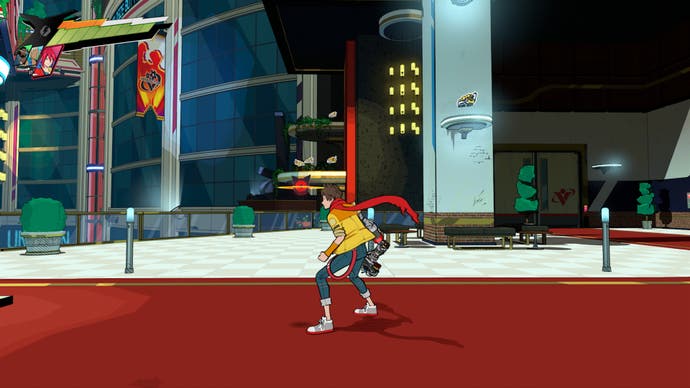
Destroy these boxes and you’ll find the graffiti on the wall to the left.
Graffiti Three
After you use the switch to flip up some ledges, you’ll come to the platform that looks like this:
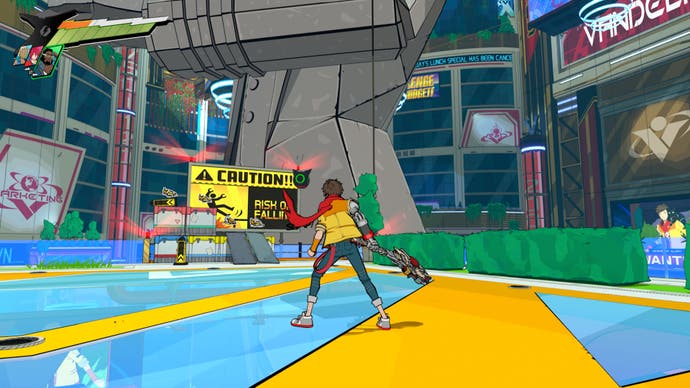
Look around the platform for the datapad sitting on a bench.
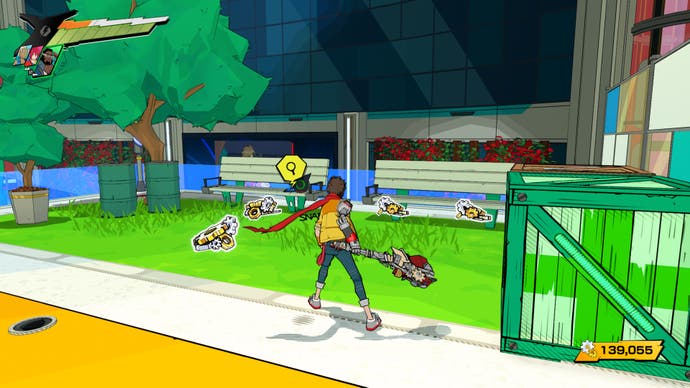
When you find it, walk between the two benches to the edge of the platform and look down. There should be a little balcony below you.
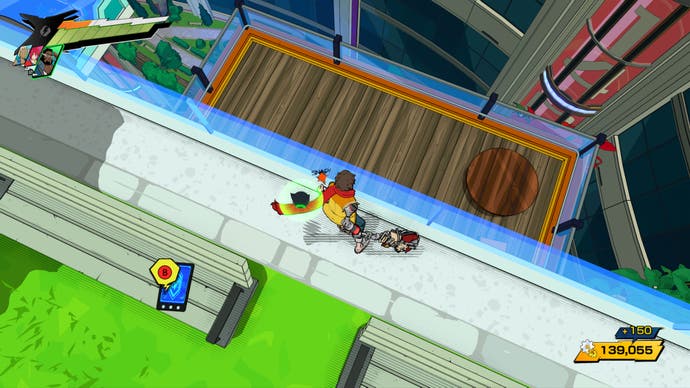
Jump down here and then turn around, the graffiti will be on the wall behind you.
Graffiti Four
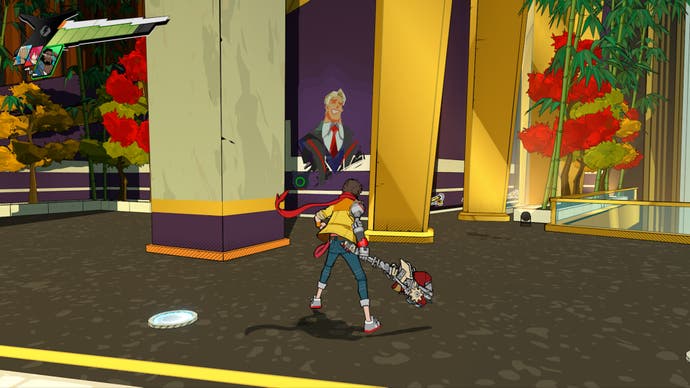
The last piece of graffiti can be found just outside the Finance office. When you reach the large doors to Finance, stop and look to your right.
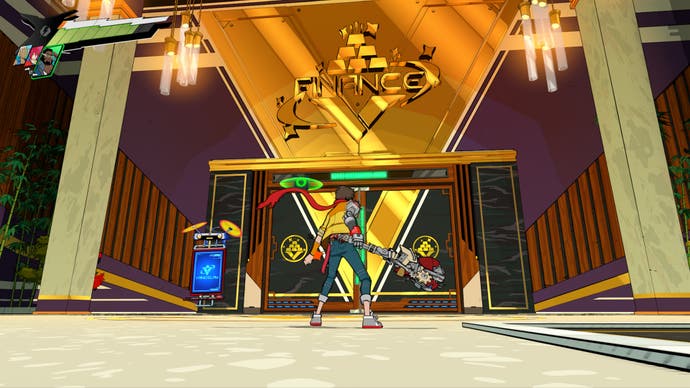
The graffiti is on the wall here, and it’s slightly hidden by a column. It should become clear to see once you walk over to it.
Congratulations! You’ve collected every piece of graffiti and it’s time that you head back to your hideout to collect your hard-earned reward.
