Control - How to activate the lights in the AWE Transit Bay explained
Time to scare Hartman out of the Eagle Limited AWE area.
After making your way through the Shifted Passages in the Eagle Limited AWE area in the Control AWE DLC, you'll find yourself at the AWE Transit Bay.
This is the last sanctuary Hartman has in this side of the Investigations Sector and, if you want to get rid of him, you need to activate the lights in the AWE Transit Bay.
Scaring him away will force his return to the Bright Falls AWE area. If, however, you haven't visited the Fra Mauro AWE area yet, Hartman will hide there instead.
For more information on Control, including the AWE DLC, visit our Control walkthrough and don't forget to ensure you know how to download and start the DLC first.
How to activate the lights in the AWE Transit Bay in Control
If you want to reactivate the lights in the AWE Transit Bay in the Control AWE DLC, you'll want to destroy the Hiss Nodes dotted about the room.
The first thing you'll want to do, however, upon entering the Transit Bay is to quickly make your way into the office on the furthest side of the room. Since its lights remain on, this is the only area in the bay where Hartman can't ambush you. This makes it a good place to plan your attack on and dispatch any Hiss that might have followed you.
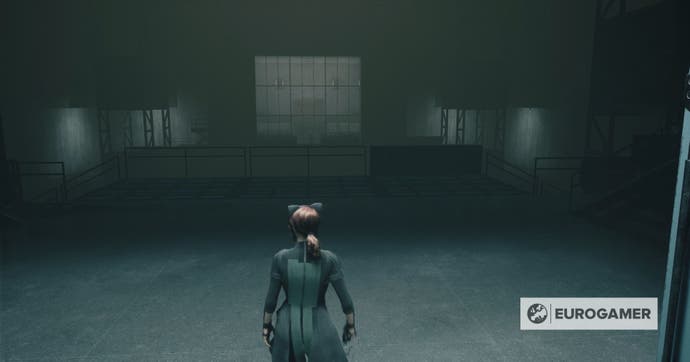
You can also quickly dash back inside this room after destroying a Hiss Node to avoid being attacked by Hartman.
We'll describe the locations of the Hiss Nodes as if you're standing in front of the switch inside this office.
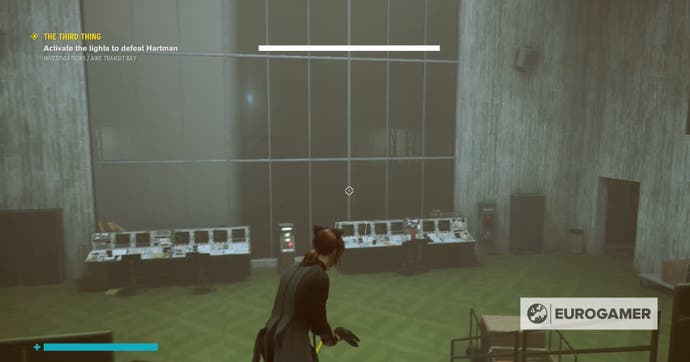
The first set of Hiss Nodes are located on the pillar directly to the left of the office, with their exact locations being:
- The lowest part of the pillar, behind the stairs
- On the northern side of the pillar's middle section
- Above the Hiss Node on the northern side of the pillar's middle section
- On the southern side of the pillar's middle section
- On part of the grating above the pillar's middle section
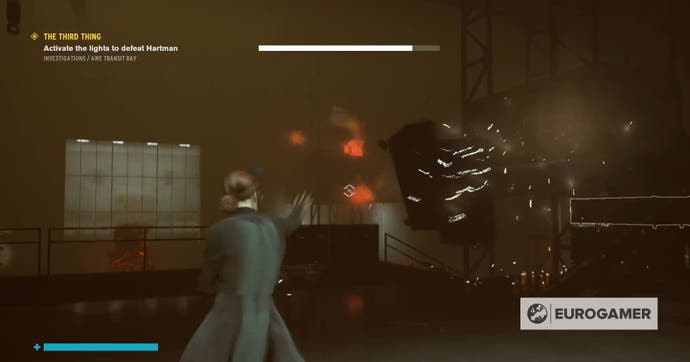
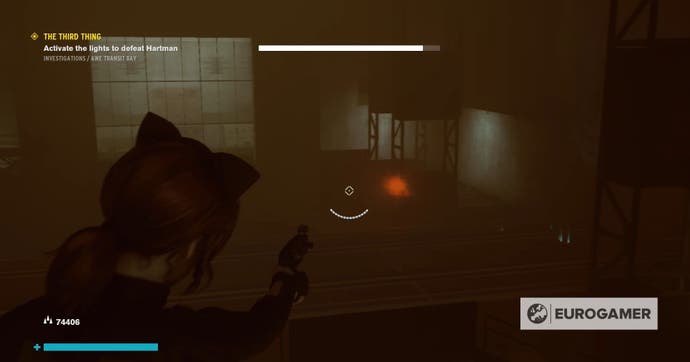
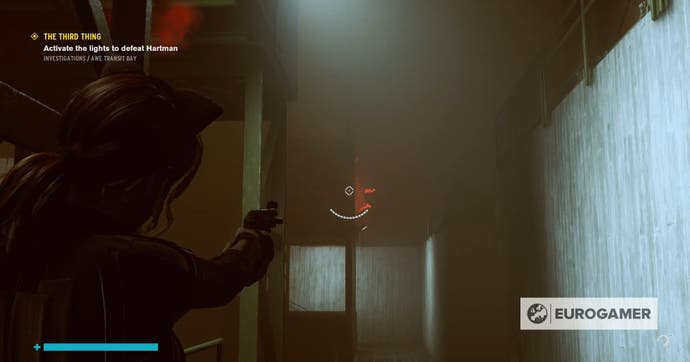
Once you've destroyed these Hiss Nodes, you'll be able to take the Power Core from the pillar and place it on one of the sockets in the office.
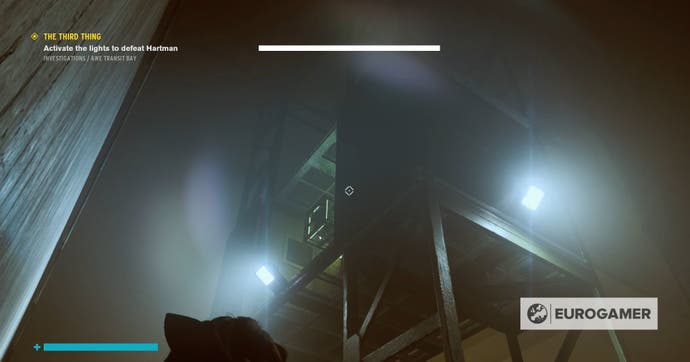
It's important to note that, when you do this, it will turn the pillar spotlight off, making it harder for you to safely navigate the AWE Transit Bay. You also have to follow the order in which the Hiss Nodes appear, so, sadly, you can't do the two pillars furthest from the office first.
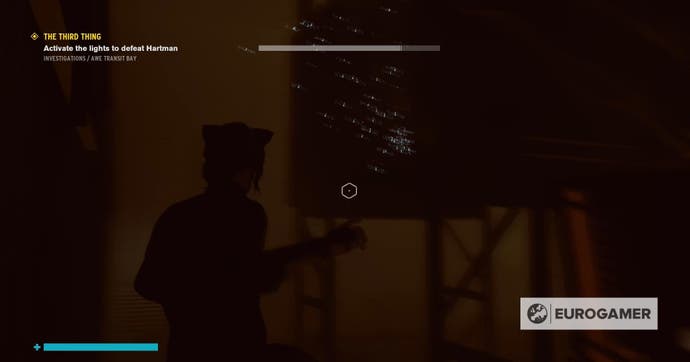
The Hiss Nodes will then appear on the pillar located in the top right-corner of the room. A number of Hiss enemies will also appear at the same time.
The easiest way to dispatch both these enemies and a number of the Hiss Nodes, is to stand in the spotlight for the pillar directly to the right of the office. This will allow you to see some of the nodes and safely kill the Hiss from a distance.
The locations of the second set of Hiss Nodes on the pillar in the top right-hand corner from the office are:
- Close to the floor on the pillar's base
- Level with the walkway at the pillar's base
- On the southern side of the pillar's middle section
- Atop the northern side of the pillar's middle section
- One of the topmost rungs of the pillar
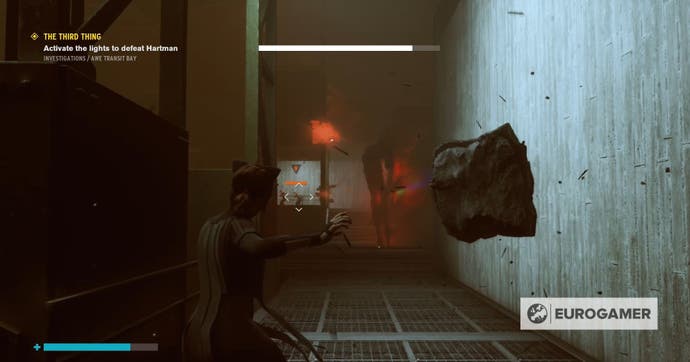
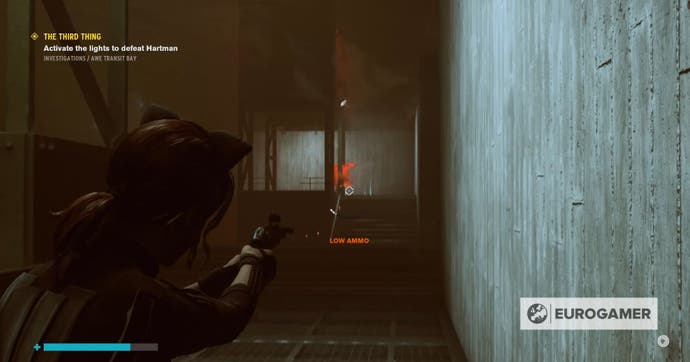
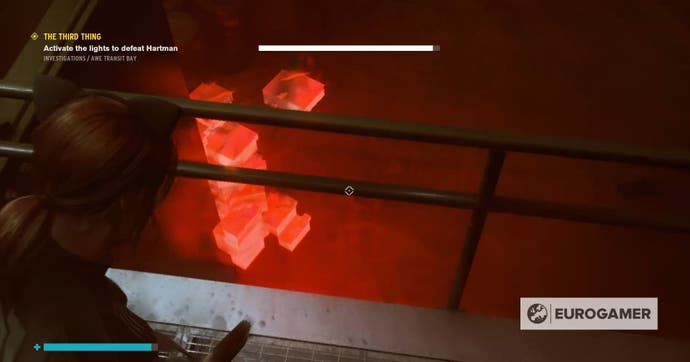
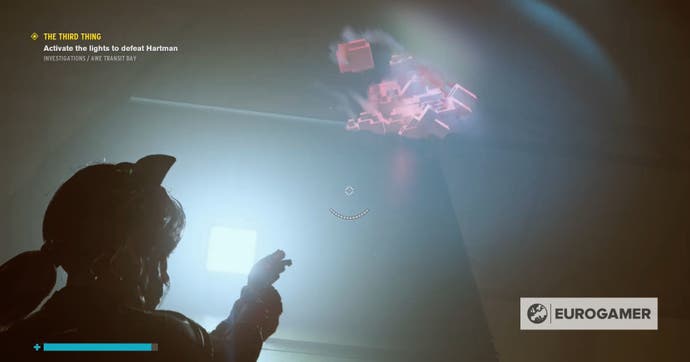
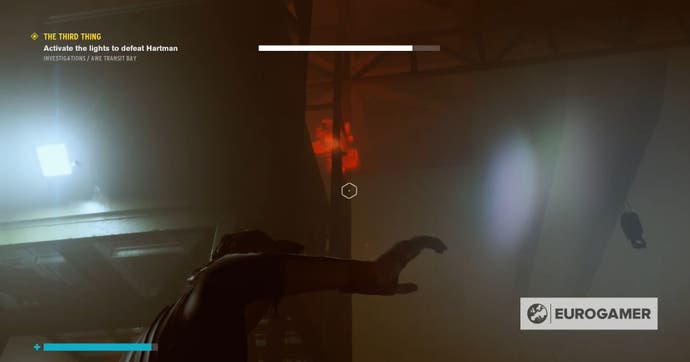
Again, destroying the Hiss Nodes will allow you to retrieve the Power Core from inside the pillar. It's a good idea to collect this one while levitating, as it will be easier to evade Hartman.
The third set of Hiss Nodes will now appear on the pillar directly to the right of the Transit Bay office - remember to watch out for those pesky Hiss.
The nodes can be found:
- On the southern side of the pillar's middle section
- On the topmost rung of the pillar
- Atop the southern rim of the pillar's middle section
- Atop the northern rim of the pillar's middle section
- Halfway up the northern lowest rungs of the pillar
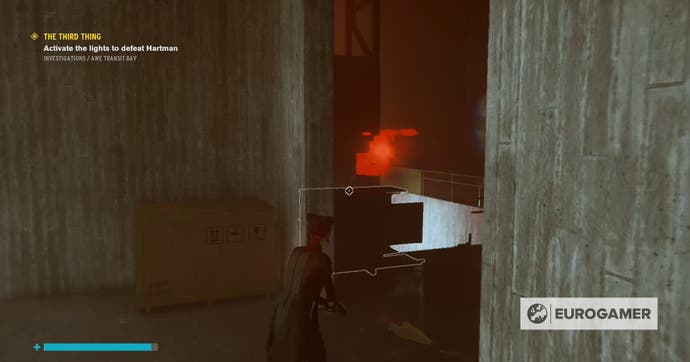
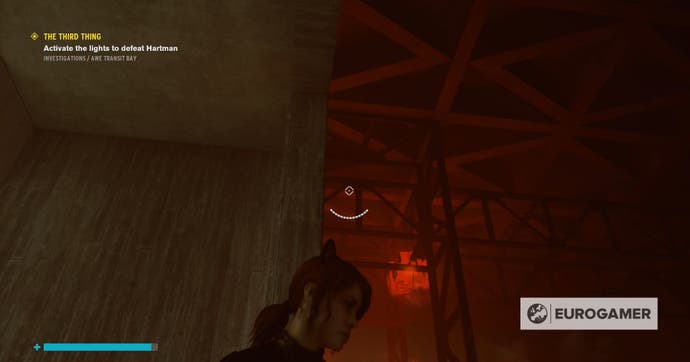
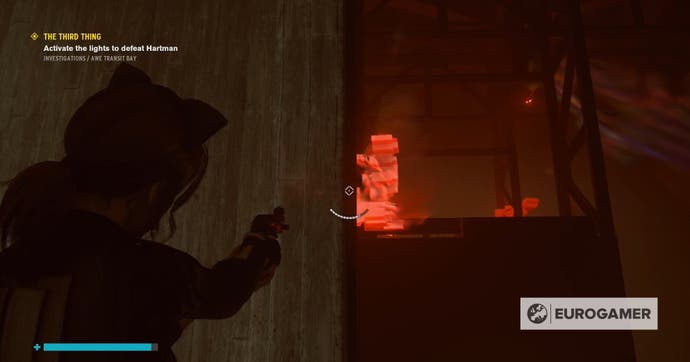
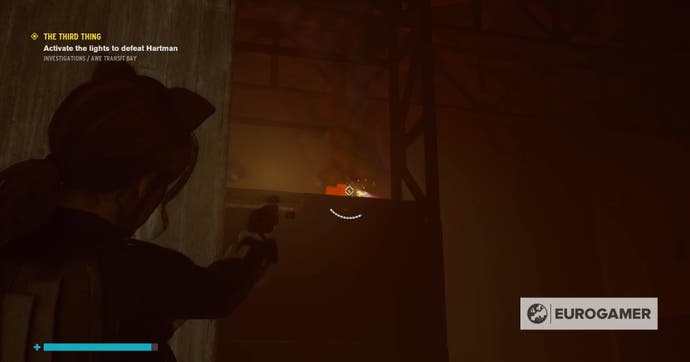
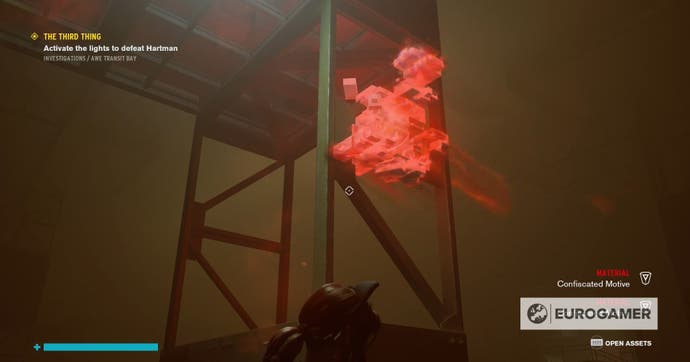
Retrieve the Power Core and quickly place it on a socket in the office.
The last pillar you need to cleanse of Hiss is in the top left-hand corner of the Transit Bay. The easiest way to reach this area is to leave via the lower left-hand door of the office and then run straight to the pool of light. Just keep a look out for more Hiss enemies and Hartman.
The nodes on this pillar can be found:
- On the floor, between the two bases for the pillar
- Halfway up the lower rungs of the pillar near the walkway
- Next to where the Power Core will be
- Above where the Power Core will be
- On the middle section of the pillar's western side
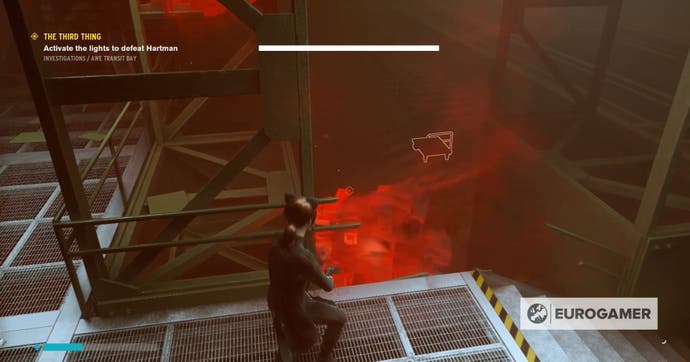
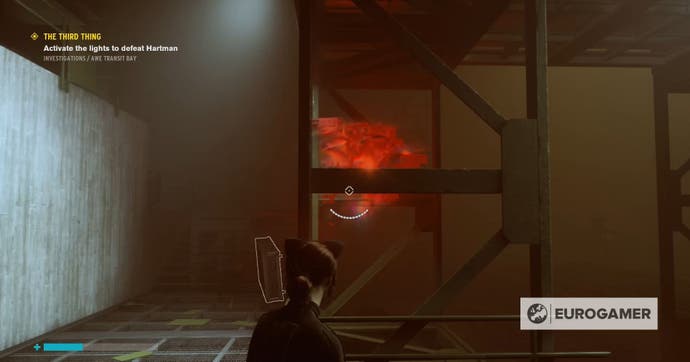
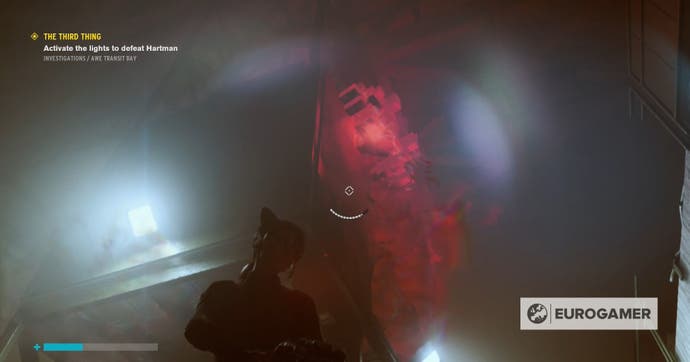
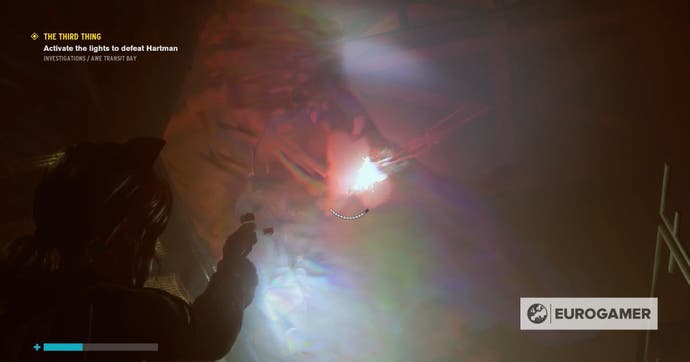
Take the final Power Core and head back to the office, keeping an out for Hartman, so you can place it on the final socket.
With all four Power Cores collected, you can flip the switch in the office to scare Hartman out of the Eagle Limited AWE area. Now all you have to do is return to Active Investigations by exiting through the, now open, left-hand door and retracing your first back through the first turntable room.
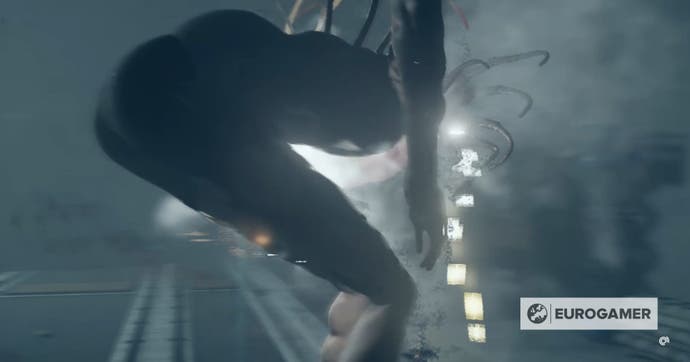
If you haven't visited the Fra Mauro AWE, then it's time to enter the eastern half of the Investigations Sector to search for Hartman.
If, however, you've now visited both AWE areas, you'll complete The Third Thing mission upon entering Active Investigations and start the final mission, It's Happening Again.
For completing The Third Thing, you'll receive:
- 1 Ability Point
- 1 Material
- 1 Weapon Mod
It's Happening Again - the final mission for the AWE DLC will now begin, as it's time to find Hartman in the Bright Falls AWE area.
It’s time to journey into the mysterious Federal Bureau of Control. Our Control walkthrough can help you through the storyline missions, including Welcome to the Oldest House, Unknown Caller, Directorial Override, Old Boy’s Club, Threshold, My Brother's Keeper, The Face of the Enemy, Finnish Tango, Polaris and Take Control. You can also learn new supernatural powers by completing A Merry Chase, A Good Defence and A Captive Audience. We also have guides on upgrading the Service Weapon, your Abilities, how to use Weapon and Personal Mods, how to unlock every outfit and the solution to the Roulette Wheel puzzle.
Remember - if you're still on The Third Thing, you need to visit the Fra Mauro AWE area first.

